An event is a custom post type that allows you to add some special fields like date, location, address, map and event detail.
Before starting to create an event, visit WPBakery Page Builder >Role Manager
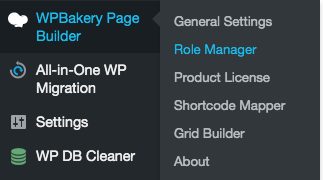
and enable the custom types of this theme

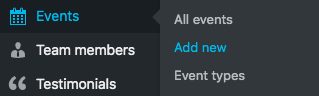
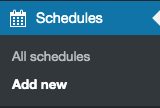
To create an event just click on Events -> Add new
Now add a title (1), a description (2) and a featured image (3) for your event.
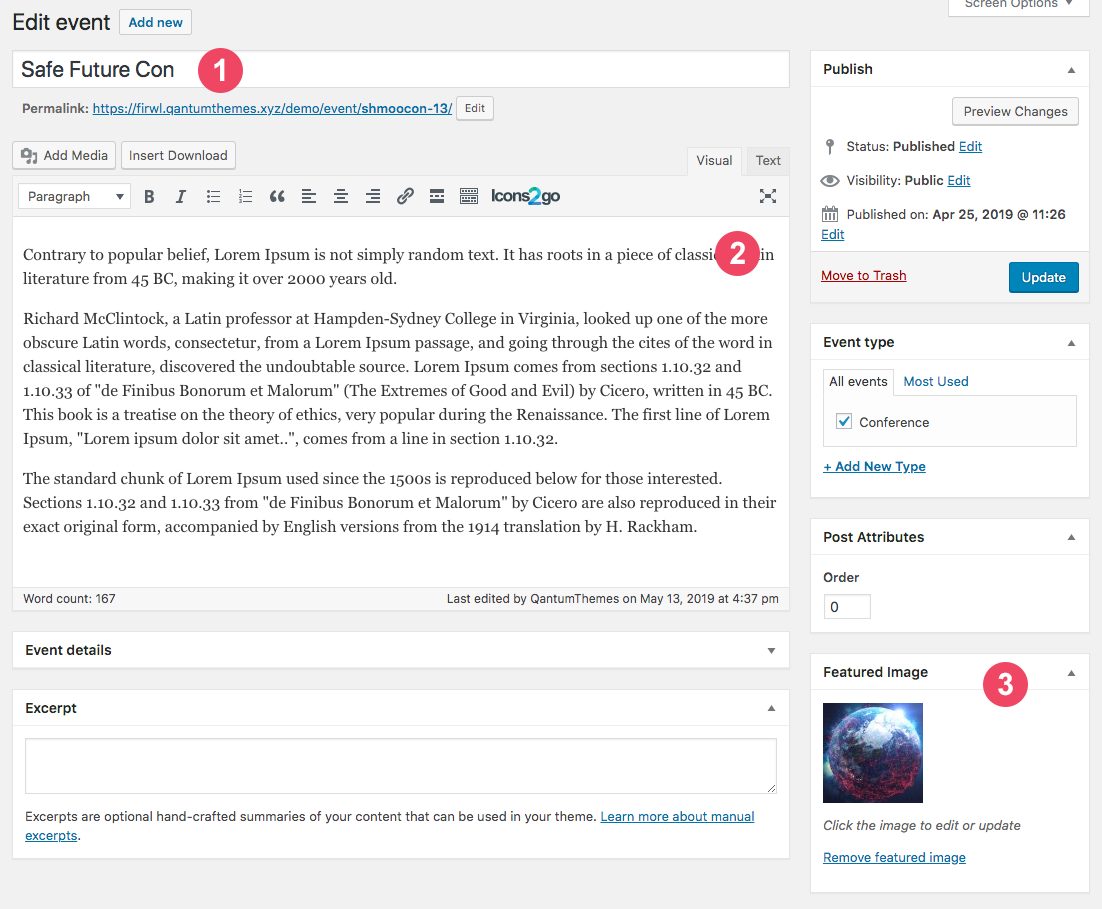
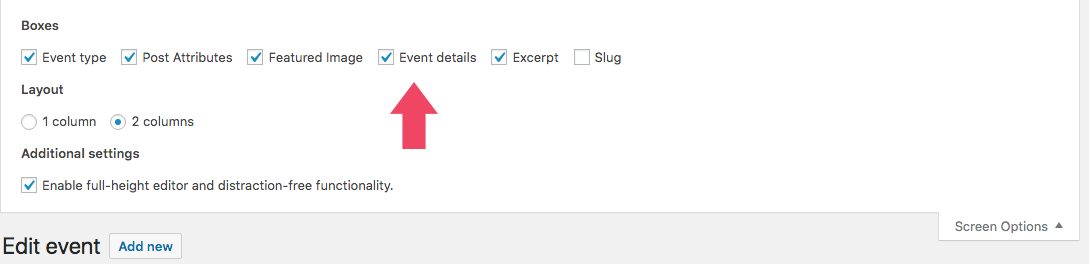
After this, fill in the event details just below the description. If this custom field is not visible, make sure it has been activated on the screen option tab.
Add an event to Google Calendar
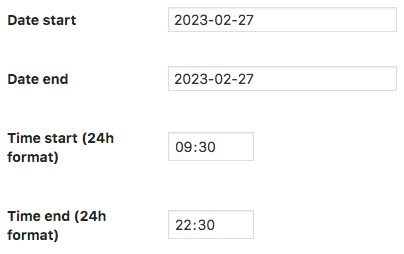
This theme provide the functionality to add a selected event to your Google Calendar.
First, choose a date and a hour for the event.
Click on the checkbox and enable the Google Calendar capability.
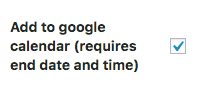
Remember to Save it before leaving the page.
Events shortcodes
You can display your events on pages by using the included custom shortcodes Events List and Events Featured.
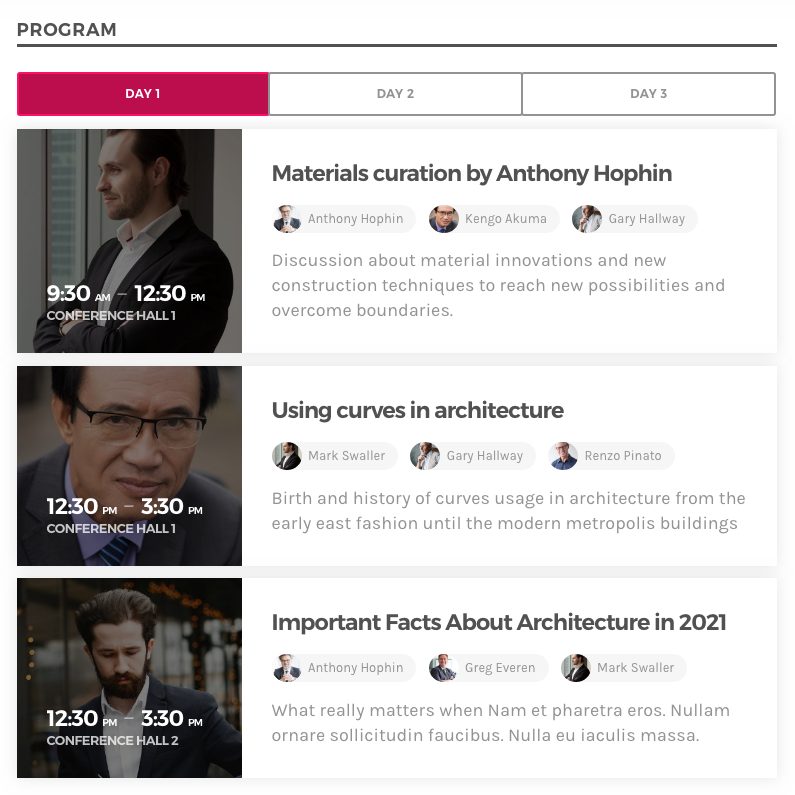
Event schedule
You can add a timetable of one or more tables. Once done, you’ll also be able to display the one-day or multi-day schedule of an event in any other page using the shortcode or using the WPBakery Page Builder element.
How to create the schedule for the event:
- First you need to create the single schedules (please read the dedicated section). A single schedule can represent a day, multiple day, or a room in a conference, or a dancefloor of a multi-room party. Literally whatever you want. Adding multiple schedules will result in a tabbed schedule design.
- Once you created one or multiple schedules, edit the event and locate the Event Program section
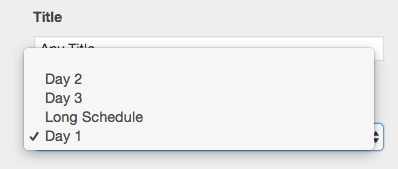
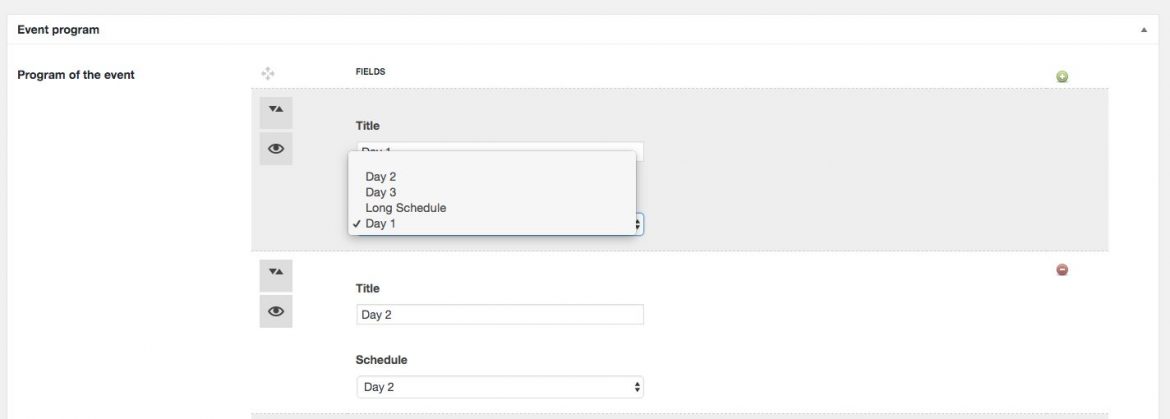 You can add any title to the timetable: it can be a day of the week, or literally anything else.

- Then select an existing, previously created, schedule from the dropdown
- You can add unlimited items with the green + button

- Please note that adding dozens of long schedules to a single event program may result in poor performance, in which case you may want to consider linking to separate pages for each schedule.
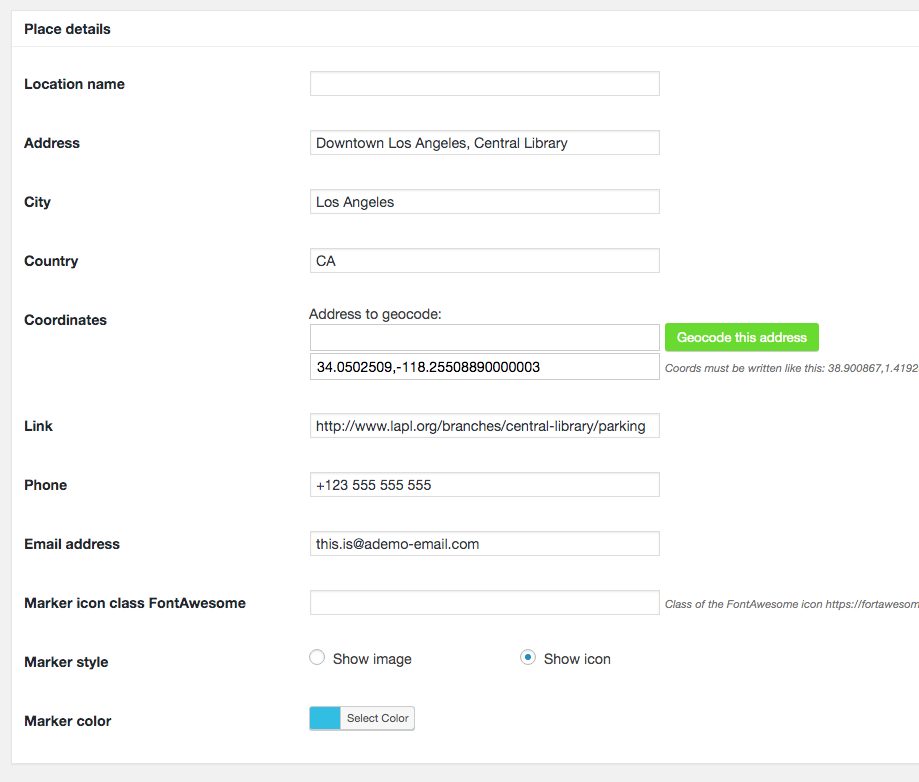
Event location (QT Places Plugin data)
If you installed and configured the QT Places plugin bundled with the theme, and correctly added the Google Maps API as explained in the dedicated chapter, you will be able to create maps of the events.
If you want to attribute location properties to an event, you have 2 options:
- For recurring events, or locations used for multiple events, you can first create a venue, and then clone the whole venue details to the event details. So, you create the Place once, and recycle the data for many events.
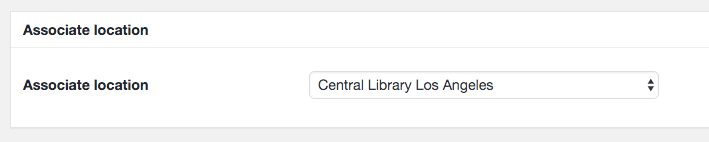 To use the details of a pre-existing location, choose it from the dropdown menu, and save the event. The event details will then be copied in the event location fields.
 - For one-time locations, you can simply compile the data of the location. If you do not have the Google Maps JS api in your settings, you won’t be able to geolocate the address. [ http://qantumthemes.com/demo/qtplaces/google-maps-api/ ] Please refere to the QT Places documentation for more info about this. http://qantumthemes.com/demo/qtplaces/