Demo import requirements:
- Be sure that all of the required plugins are installed
- Be sure that that you actived the Child theme (as explained in the installation page)
- If prompted, be sure to activate the purchase code of your theme
- In case of incomplete import or errors, please check if your server meets the WP requirements
Please remember that all of the contents will be imported under your current user. If the demo displays multiple users, they will all be ignored to avoid security breaches on your website.
How to install the demo contents
With the One Click Demo Import procedure you can import both the default demo and the WooCommerce demo.
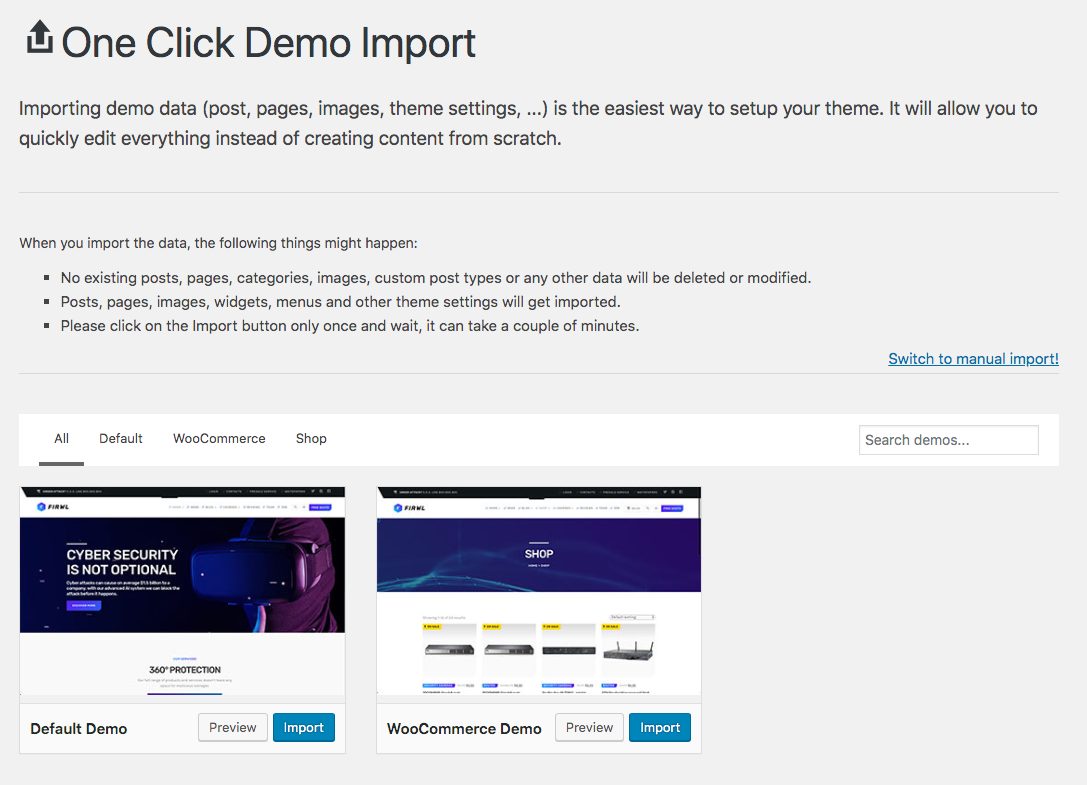
- Click Appearance > Import Demo Data
- Choose one Demo and click on Import
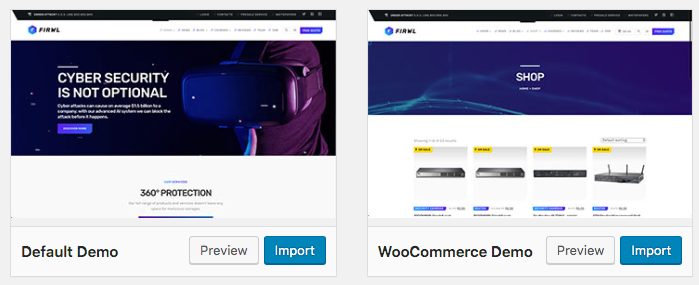
- On the following modal, click Yes, import! and your contents will be imported in seconds.

Notes:
- Existing contents will not be deleted
- If you don’t install the demo while using the child theme, some settings and configurations may not be installed properly, as they are related to the name of the active theme.
- Do not install the demo data twice, or you will have a lot of duplicated contents.
Troubleshooting
- If the demo contents are imported partially or not imported at all, it means your server requirements are not met.
- If the requirements are met (eg. execution time) but you have problems of partial importing, it means that your server is too slow, and you have probably a very cheap hosting plan. There are known issues with small plans of providers as Bluehost and Hostgator which are very limited.
- If you see error messages, it means some plugin not provided with the theme is conflicting with the import (as the stock WordPress Importer plugin which is supposed to NOT be installed).
Download Monitor
The demo contents will not contain the whitepapers, as these files are protected and are not accessible via WordPress Importer.
Contact Form 7 Design
After importing the demo contents, you will notice that the contact form appears different.
This is caused by the Contact Form 7 activation process (which we don’t want to override for security reasons). In fact, upon activation, this plugin creates a default form without formatting.
To use the demo form, edit the page, and select the correct form from the dropdown menu.


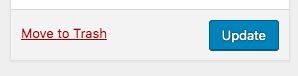
Once done, update the page, and it will be now using the correct form structure.
Menu not visible after importing demo contents
All the menus added with WP Bakery Page Builder need to be set again manually after the demo content importing procedure.

First make sure that WP Bakery Page Builder is enabled for qt_megafooter_page and qt_megamenu_page custom post type.
Go to WP Bakery Page Builder -> Role Manager
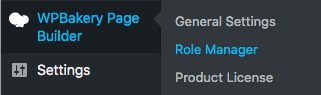
From Post types, choose Custom and select qt_megafooter_page and qt__megamenu_page.
Click Save Changes.
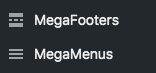
Now go to the page that includes your menu in Megafooters or MegaMenus section.
Click on Edit.

Click on the pencil icon on each WP Custom Menu shortcode.
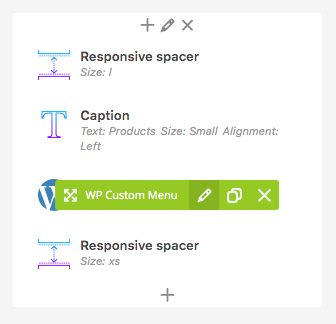
From the Menu dropdown, select one item from the list.
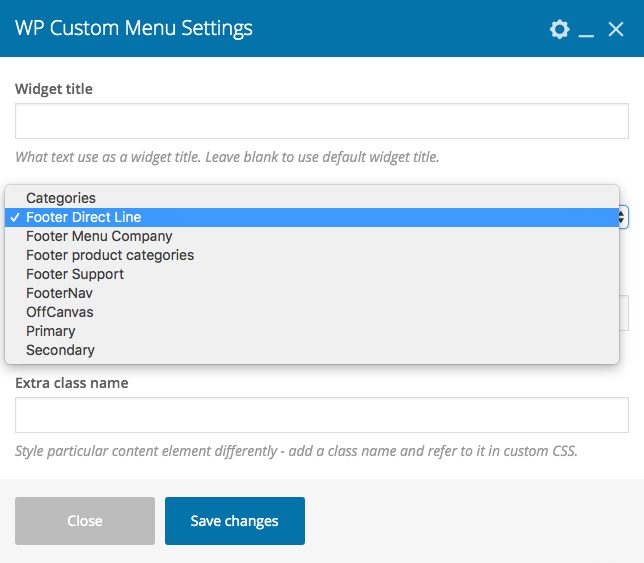
Click Save changes.