- Click Events
- Click Add New
- Enter a title and description
- Choose a date and time using the datepicker
- Optionally set a Facebook event link
- Set a featured image (larger than 720x920px)
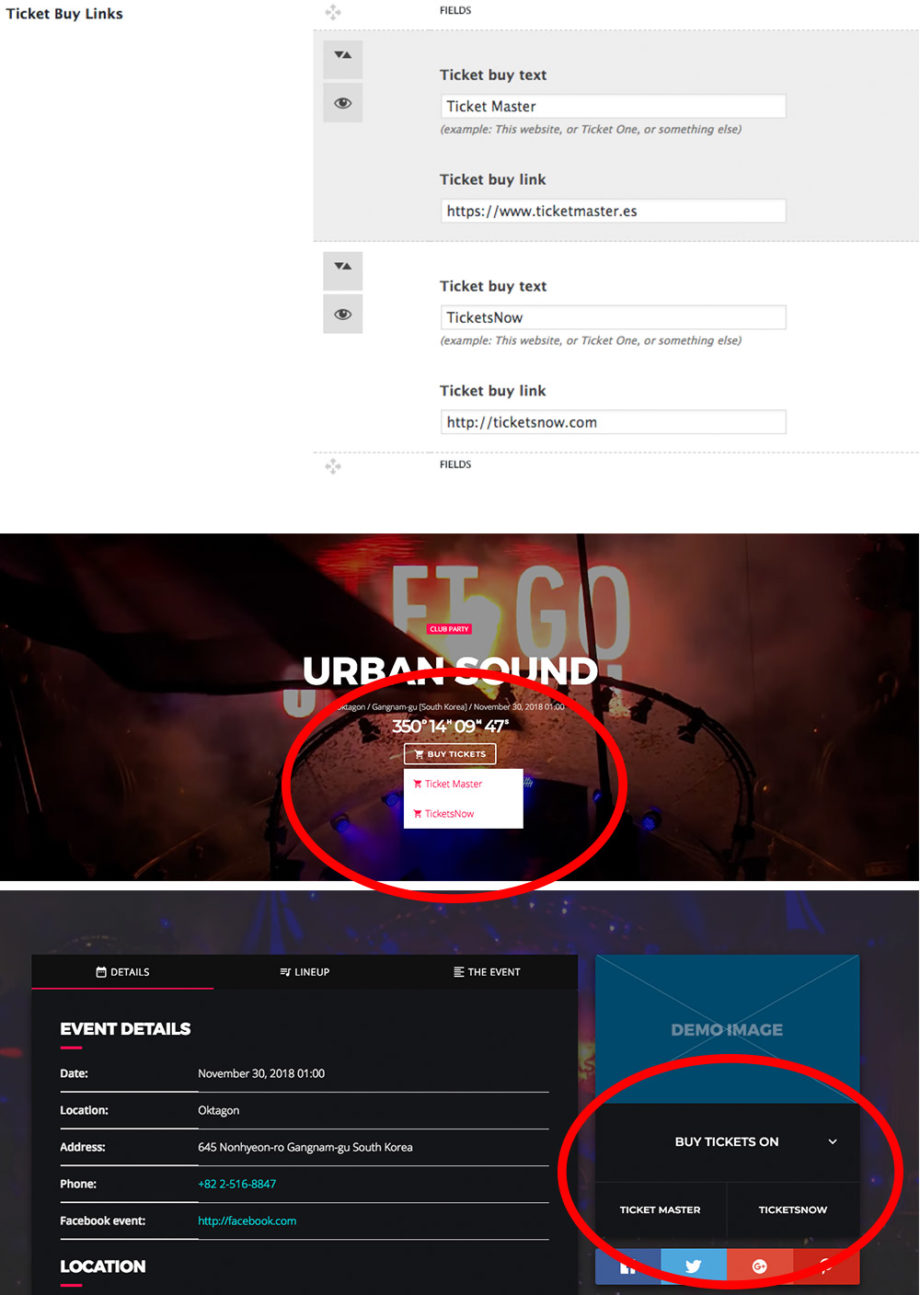
Ticket buy links:
Add unlimited ticket buy links, they will appear in a buy ticket button in header and in a special widget on the sidebar, to maximize the purchase flow and increase the sales:
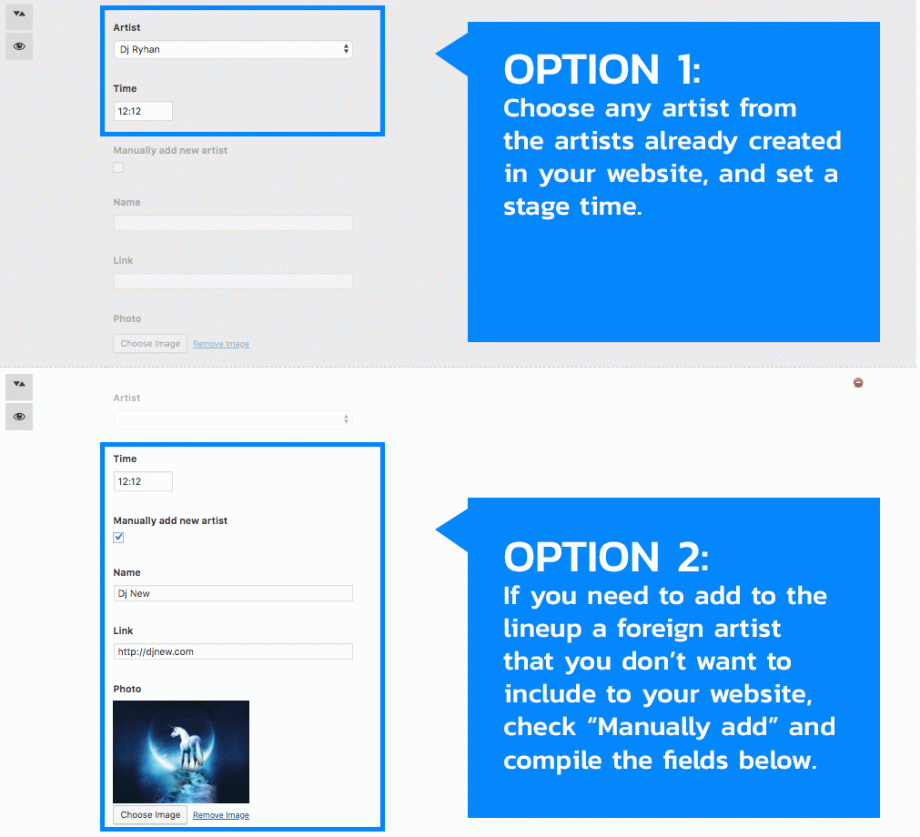
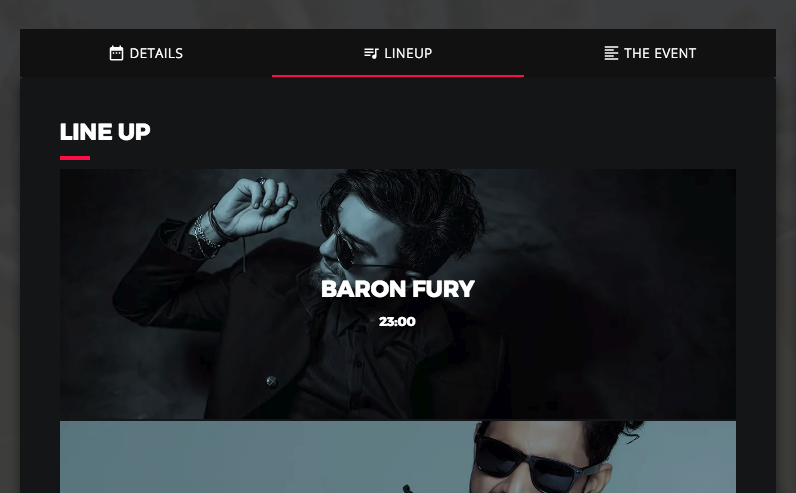
Event line-up
Optionally add existing artists to a line-up
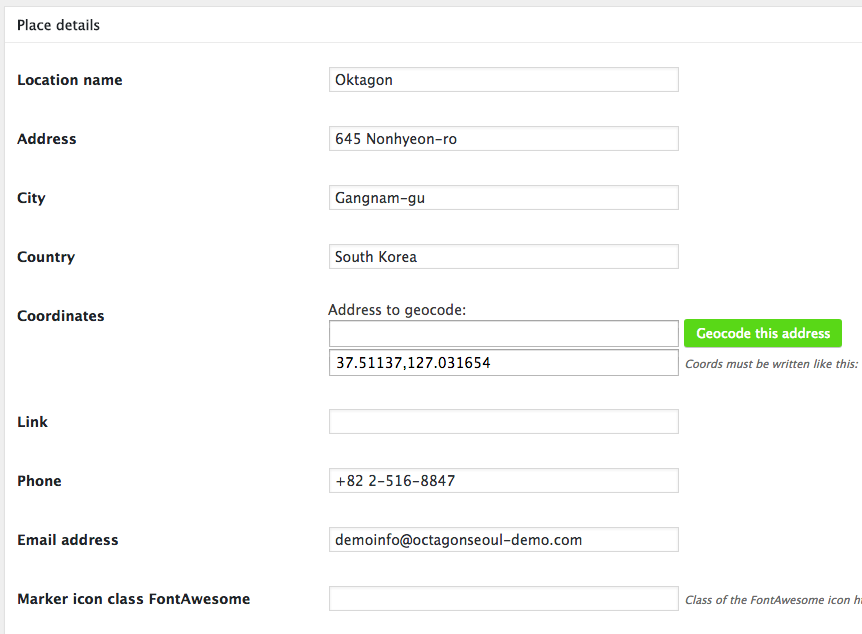
Place details
You can add location details. This requires the QT Places plugin (bundled). More info
If you want to import the location details from an existing place, select the place from the dropdown and save.
Creating the events archive:
- Go to pages->Add New
- Select the Archive Events template
- In Appearance->Menus link to the page you just created (optional)
Important!
You can hide or show the events depending on the event date. To change this option go to
Appearance->Customize->General options.
Creating an event map:
- Be sure to have the QT Places plugin installed and active
- Be sure that you are not hiding past events in case that you want to show them
- Add the shortcode [qtplaces posttype=”event”].
- See the QtPlaces documentation for more infos
- You can also use the QtPlaces shortcode generator in your page editor
- Check the page Settings -> QT Places for more infos