This theme comes with the powerful Page Builder plugin. This chapter will introduce the basic functionalities and explain you how to use it to create stunning blog and magazine pages.
Important notice:
- If you are prompted to activate the plugin, discard the message (check plugins installation for more info)
- We delivery the updated version after testing them with the theme
- Some functions may be disabled because incompatible with the theme but are replaced from our own functions.
Creating a fullwidth page
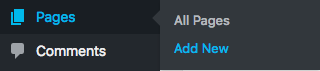
To create a page with Visual Composer, first, go to Page > Add New
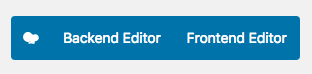
You can switch editor by clicking the WP Bakery Page Builder button on the top of the page.

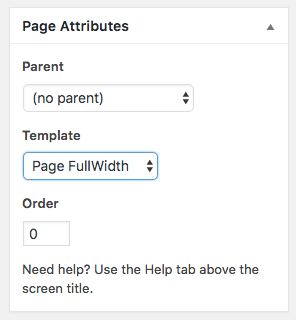
Choose Page Fullwidth from the “Page template” drop-down on the right column.
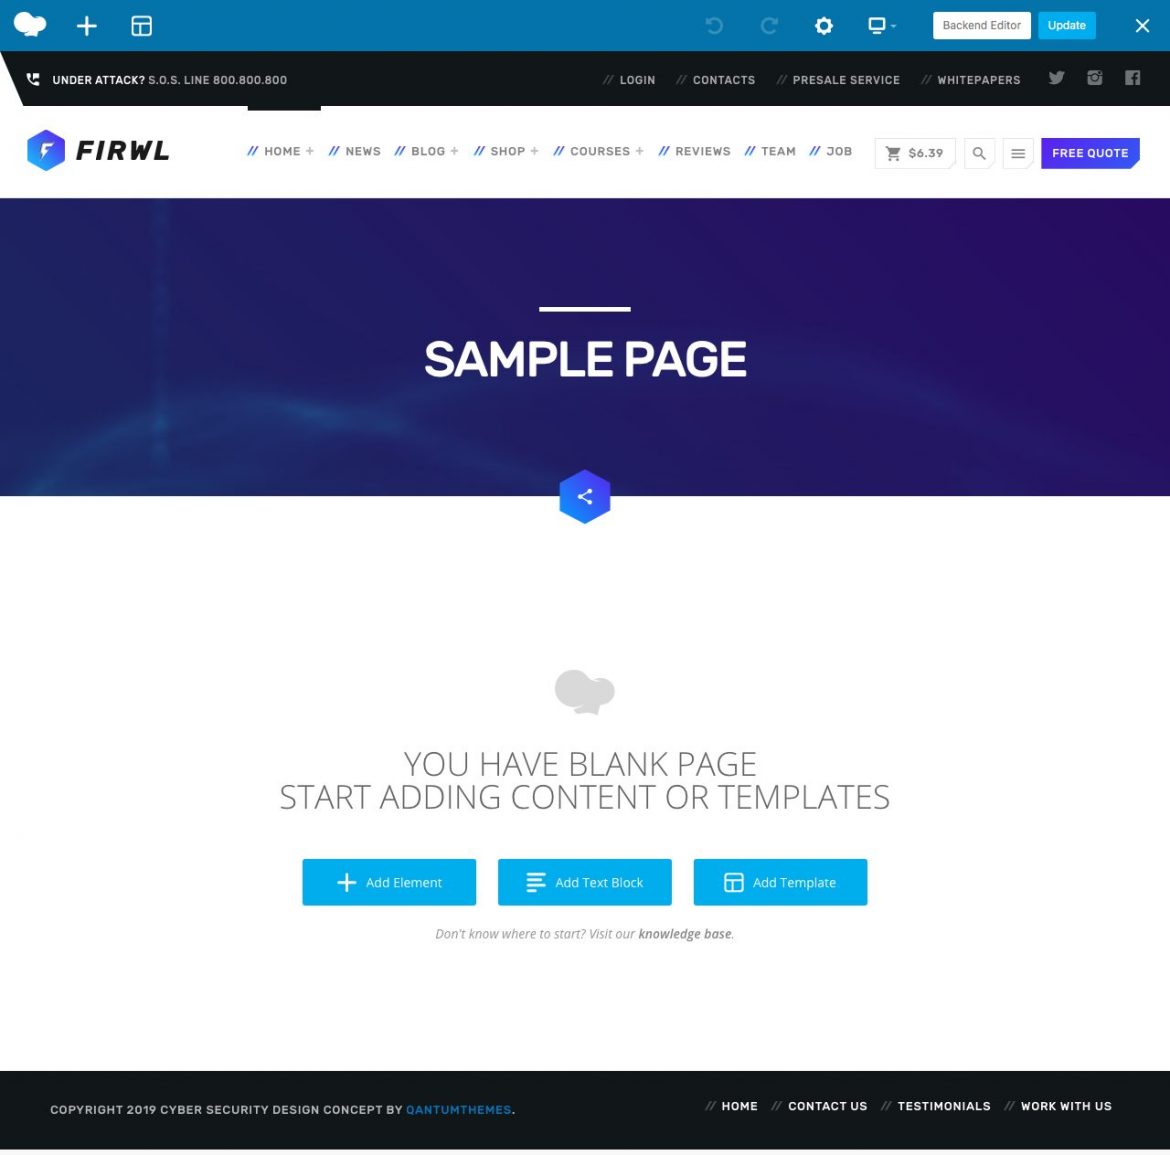
Editing a page with Page Builder
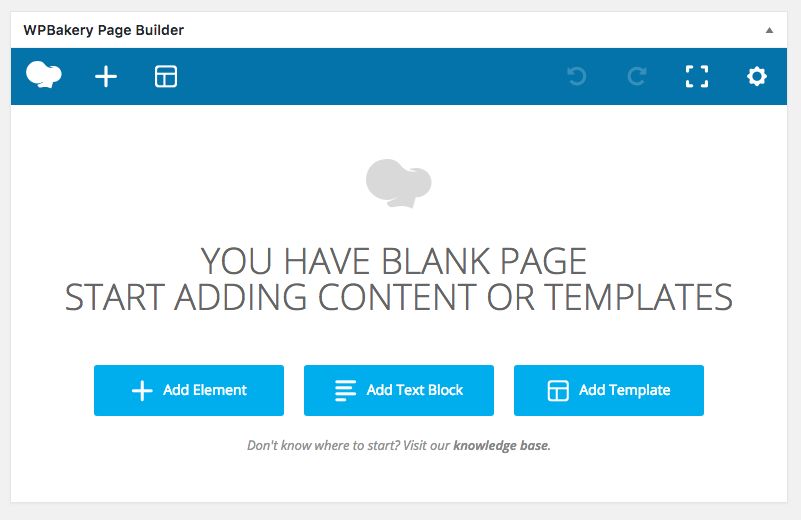
You can start editing the page with backend or frontend editor.
Backend Editor
Adding elements is really intuitive. You can add shortcodes, text blocks or bundled template.
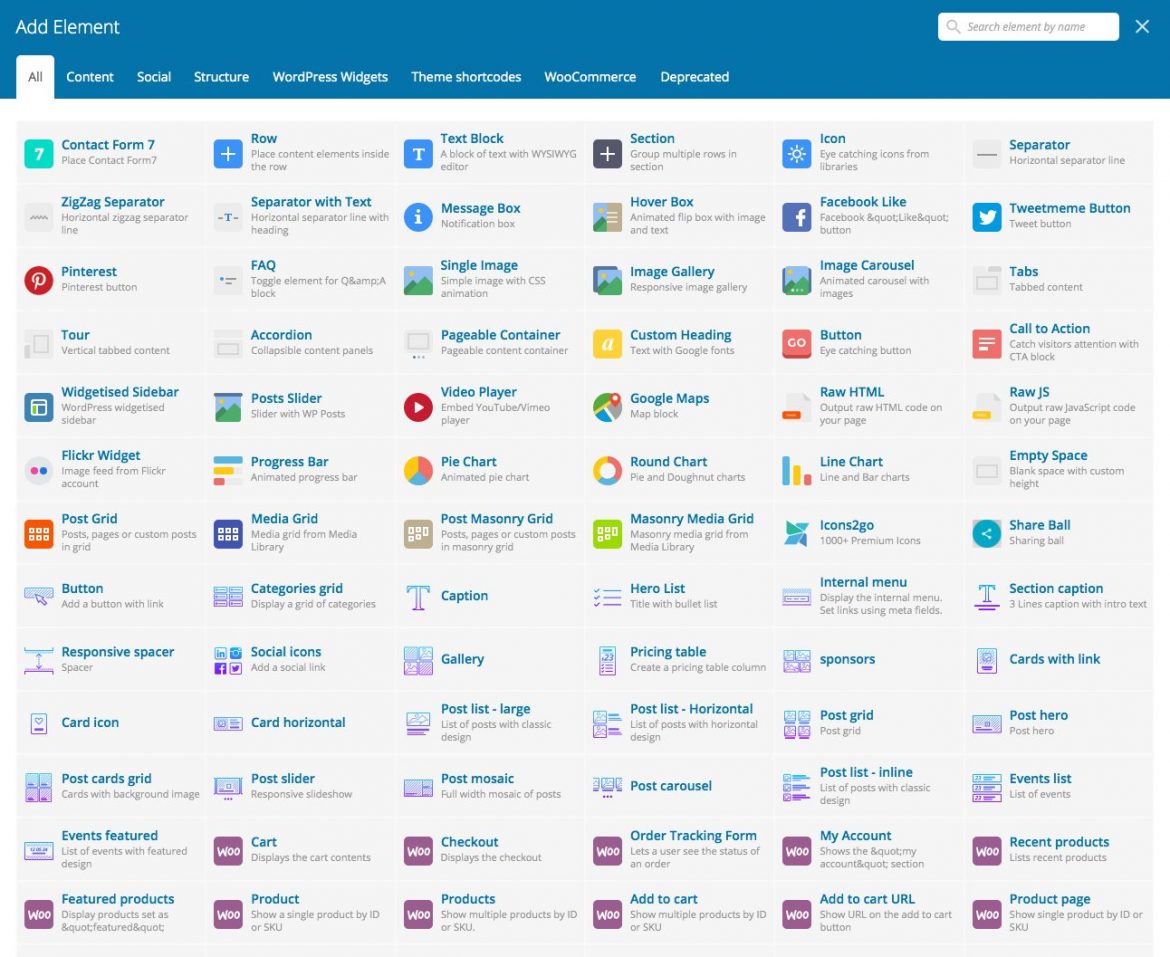
Here the list of all the shortcodes available. For a deeper look, you can navigate this page.
Frontend
By clicking on Frontend Editor you will be able to build and edit your page in live view, by the way we recommend the backend editor since it is faster and more reliable.
Start clicking on Add Elements, Add Text Block or Add Template.
Rows: container and full width
You should start by adding Rows.
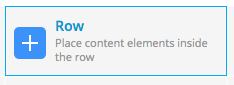
A Row is a basic brick of your page that will contain shortcodes.
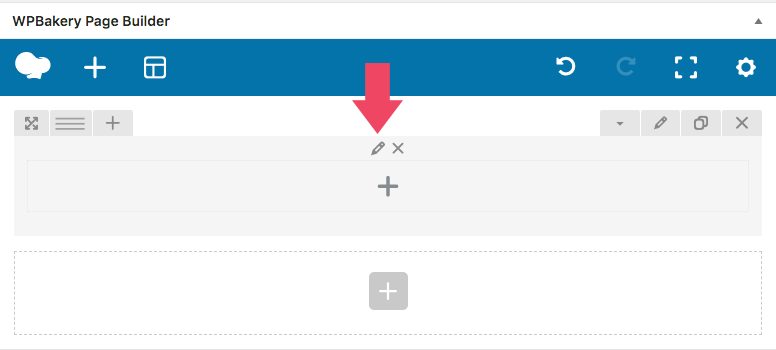
To add a shortcode, click on the plus icon in the middle of the row.

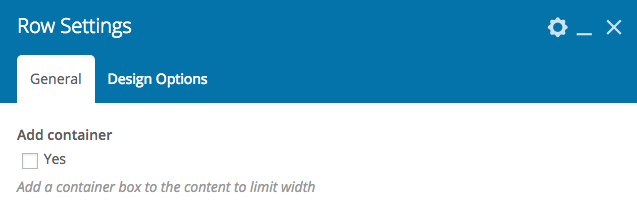
To edit the row, click on the top-right corner pencil icon.
![]()
A modal will be prompted and now you can edit the row settings including adding a Container.
Columns
You can split your rows into columns. To do that, click on the column icon and choose your column layout.
![]()
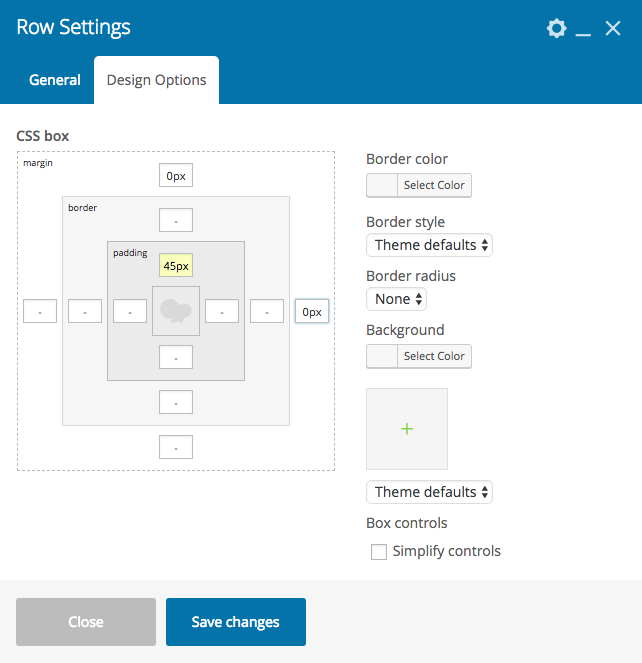
How to set margin and padding in rows and columns
Click on the pencil icon to edit the selected row or column.

A modal will prompt to you. Now click on Design Option and fill the fields to edit your margins or paddings. You can add the measure in pixel, percentage, rem and em.
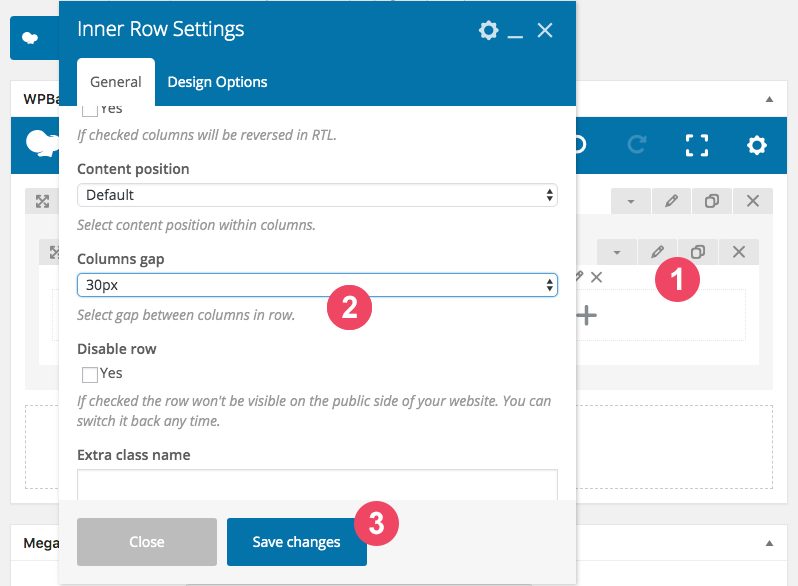
If you are using more than one column per row, you will need to add spacing between them. For best results, we suggest 30px columns gap (as is also the default theme spacing grid).
Edit the row by clicking the pencil icon (1), choose a columns gap (2) and then click Save Changes (3).
You can also add vertical paddings for columns for section separator: edit your column by clicking the pencil icon.
Check Yes under section vertical paddings setting.

Click Save changes before leaving the page.
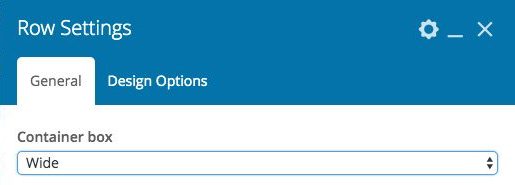
Edit Container Width
When editing a row, you can choose if your container would be wide (1440px) or narrow (1170px).
Inner rows can only have the narrowest one.
This setting works only with the page template set on Page Fullwidth.
Add a Background
Adding a background to your rows is very easy: click on the pencil icon, then click on Design Option.
Here you can choose if your background would be a color (1) or an image (2).
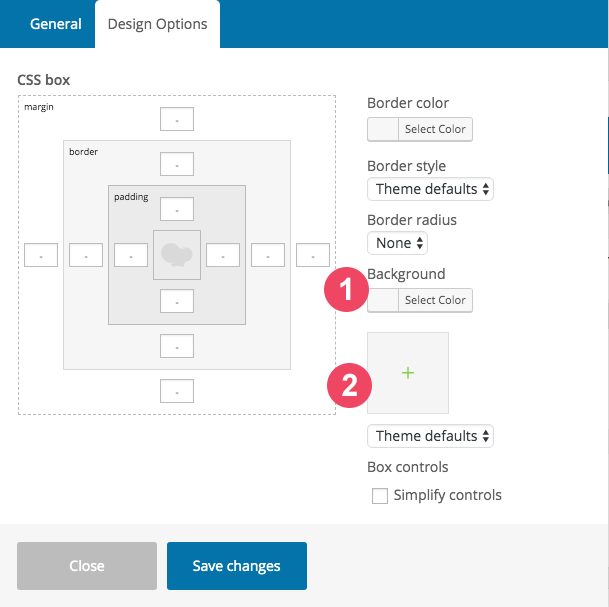
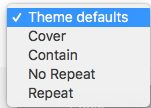
For the image background setting you can also choose its property.
Most of the time, the best setting is Cover.
Always remember to save changes before leaving the page.
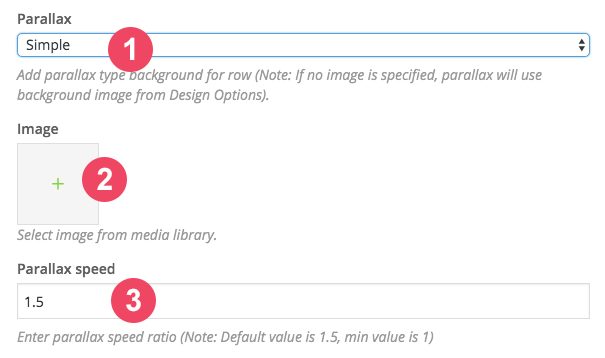
Parallax effect
This feature adds a parallax type background for row. If no image is specified, parallax will use background image from Design Options.
Click on the pencil icon, scroll down to Parallax and choose the type of effect: simple or with fade (1).
Choose your favourite image from the media library (2) and set a parallax speed (3).
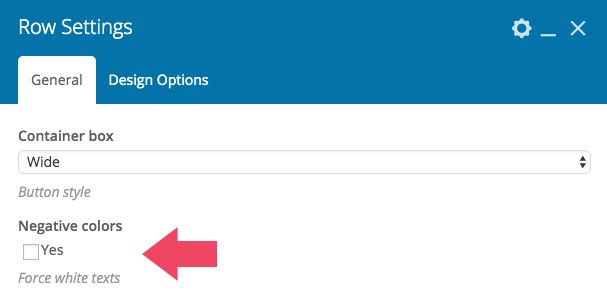
Negative Colors
This feature forces all text to white color. Helpful for parallax and coloured background.
Official manual for WP Bakery Page Builder
For any further details regarding page creation with WP Bakery Page Builder, please check the official plugin manual: https://kb.wpbakery.com