This theme comes with a custom mega menu plugin called QantumThemes Mega Menu.
We created this plugin as every existing one was over complicated and very time consuming, while this plugin is possibly the easiest mega-menu integration you will ever see. Remember that mega menus are only appearing in Desktop.

Once installed, a new post type will appear:
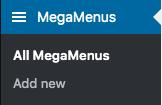
You can add unlimited mega menu tabs and associate them with any menu item.
Creating a mega menu item:
This is a 2 steps process:
- Create the mega menu page
- Add it to a menu item
STEP 1: Creating the mega menu page:
- First enable Page Builder for this post type: go to WPBakery Page Builder > Role Manager

- Select Custom post types
- Enable qt__megamenu_page and qt__megafooter_page
Now you can start creating!
- Click Mega Menu > Add new
- Backend Editor (or frontend? Your call!)
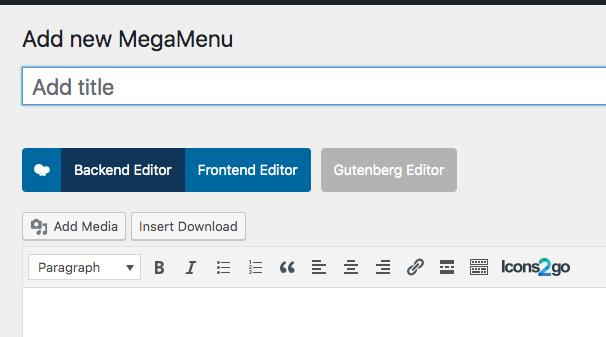
- Remember to add some vertical padding to the rows. We recommend a 2 levels row structure, with a background on the outer row, but is just a pure personal choice.
- We recommend adding a container to the Inner row
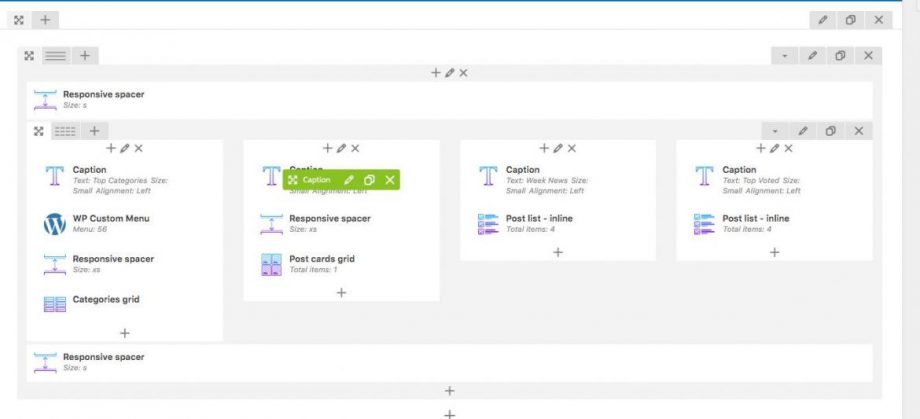
- Custom CSS styles will not appear in the preview (to prevent a double loop when previewing if the menu is already active in frontend). But they will work perfectly while associating the Mega Menu page to a menu item.
- Do not add too many mega menus if you care about performance, nor too many things in the mega menu content, as the loading time is a very important factor.
Once you are happy with your mega menu, you can publish it.
STEP 2: Associating the Mega Menu page to a menu item:
At this point, to associate the mega menu to a menu item, you will need to copy the ID of your new menu page, in this example 878:
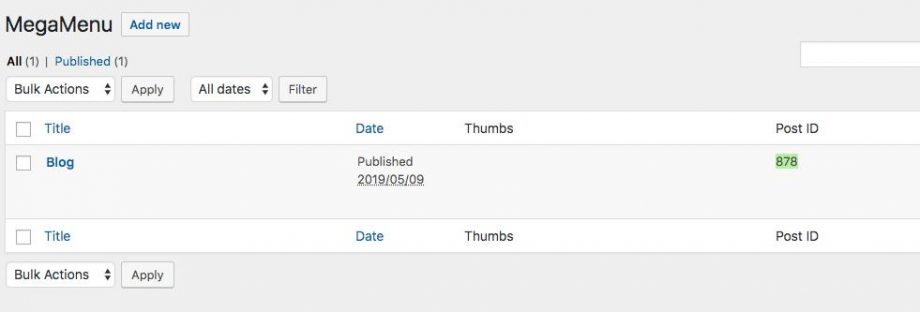
Go to appearance > Menu and choose the menu that is set on the Primary location:
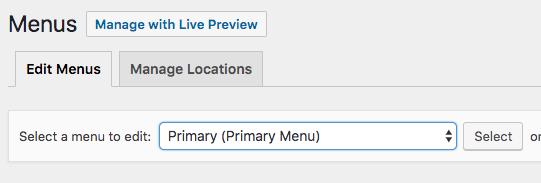
In Screen Options enable the CSS classes

Edit the item you want to trigger the Mega Menu, and add the class
qt-megamenu-is-ID
Where ID is the number previously copied.
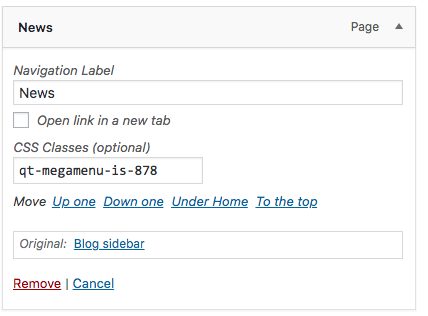
Then Save the menu.
