With Pro Radio Business Tools and WooCommerce you can sell ad spaces almost entirely on Autopilot. The only manual step will be approving the ads.
Installing WooCommerce
- Go to Plugins > Add new and search WooCommerce, install and activate
- Follow the setup wizard
- Now you can create your first Ad Campaign product.
How to create an “Ad Campaign product”
An Ad Campaign product is simply a normal product with a checkbox enabled. Once purchased, the customer will have access to the campaign submission form.
User-submitted campaigns will always require your approval to be visible.
You can create unlimited different Ad products (for instance 1 week, 1 month, 1 year…).
- Go to Products, add new
- Set a product name, for instance “1 Month Ads”
- Describe the service in the product text, how many ad slots are included, and any other terms you want to add. Explain that ads will be displayed randomly, there is no guaranteed amount of clicks or views, and the ad is subject to review and can’t violate your terms of service and quality standards.
- Also, provide a link to download the instructions in PDF (we created them for you already!)
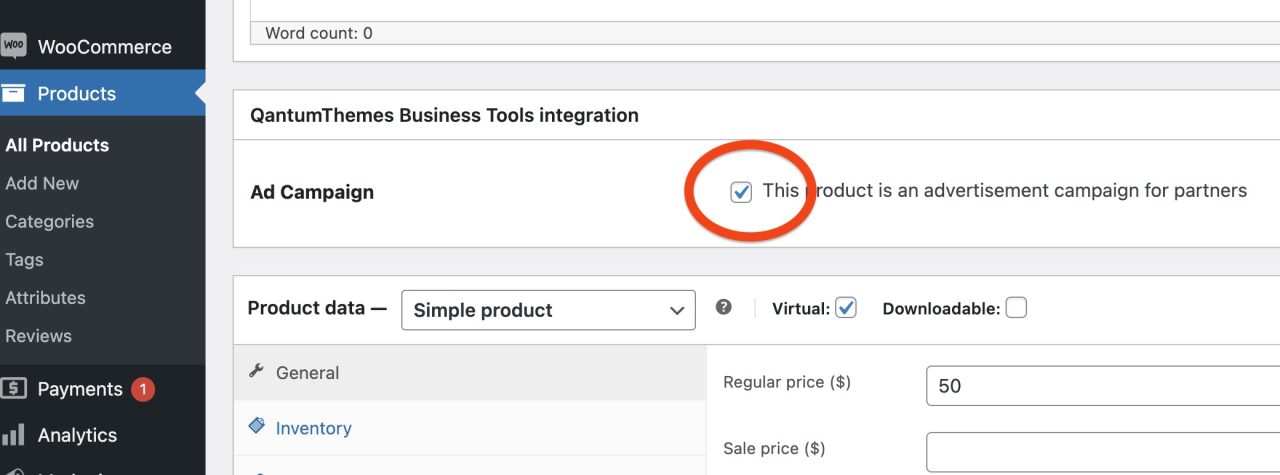
- In the box “QantumThemes Business Tools Integration” make sure to enable “Ad Campaign”
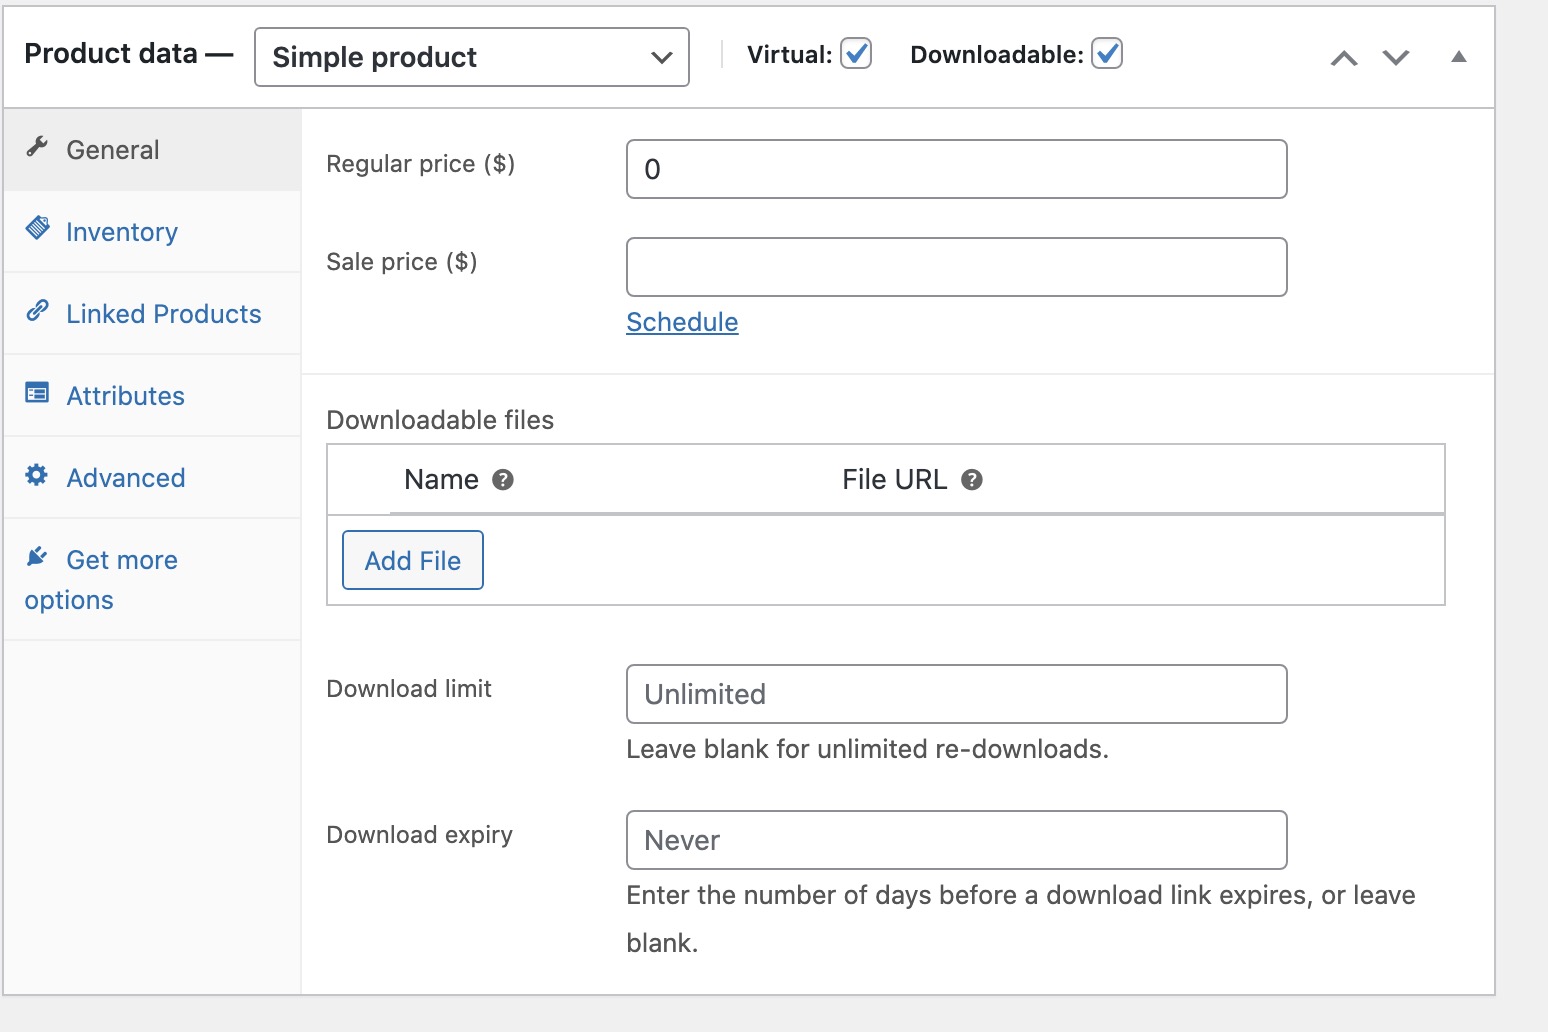
- In Product Data, set the product as Virtual and Downloadable.
- Set the price (set 0 to test)
- In the Downloadable Files section, select the PDF with the instructions to create a campaign, if you want to allow immediate submission from your partners (now also customers)
Partners/Customer instructions:
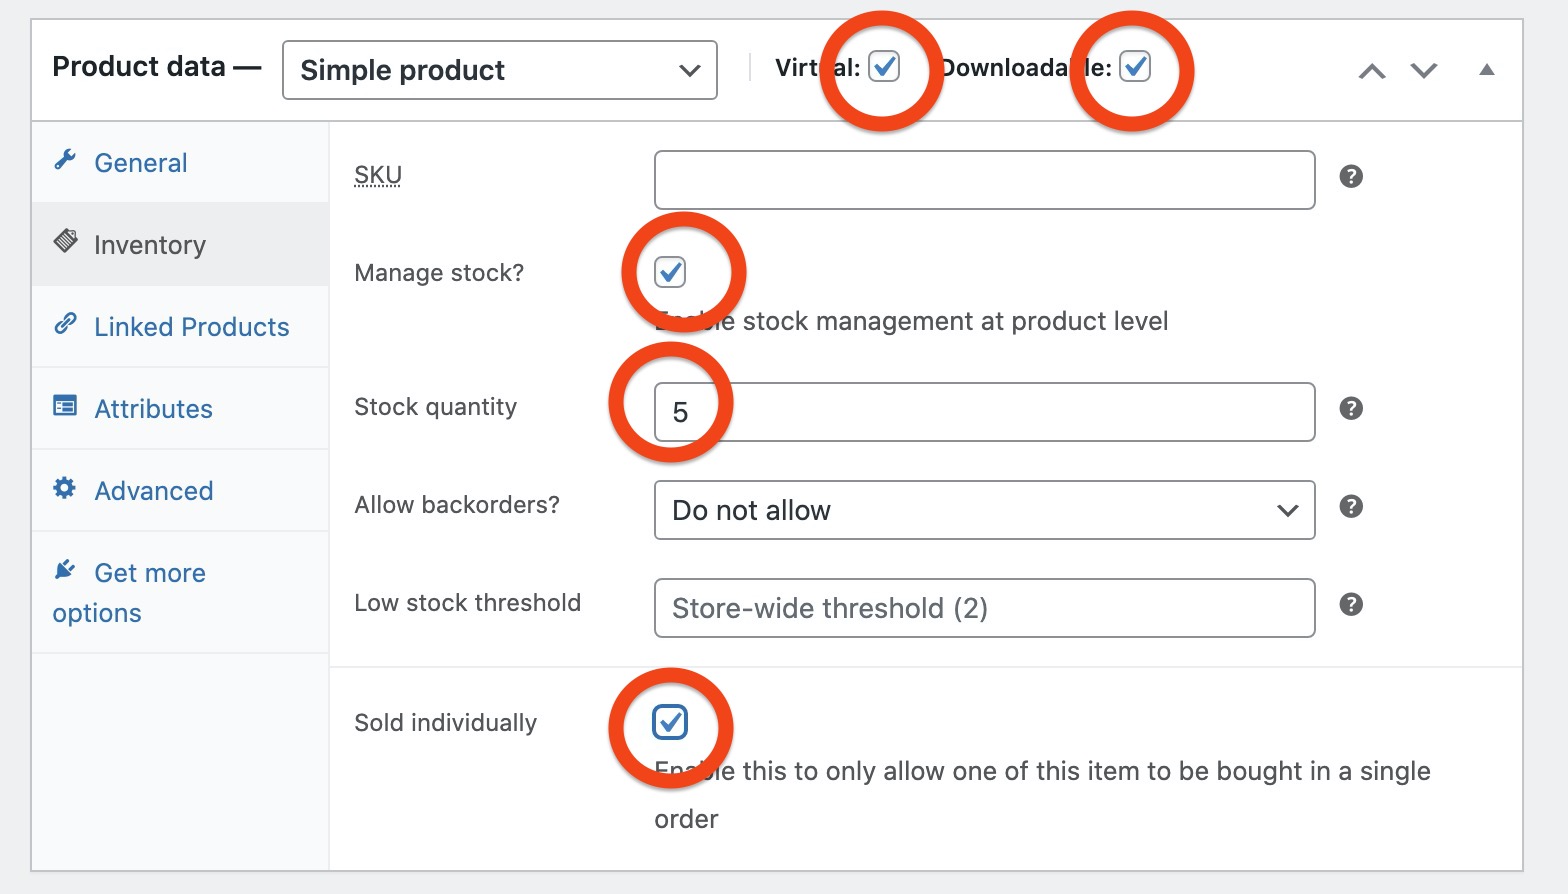
click here to download white-label instructions in PDF for your customers. - Click Inventory, enable manage stock and set a quantity. This will prevent people from overbooking your ADS spaces.
- Click Publish and check the page
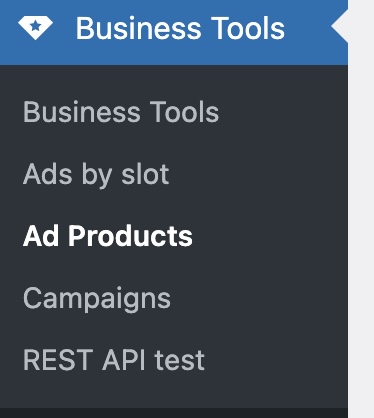
See list of Ad Campaign products:
Go to your Wp admin and click Business Tools to see every product marked as Ad Campaign.
Allowing customers to create a campaign after the purchase
To set this system on autopilot, go to Business Tools settings, and switch on “Customer access to submit form”.

Once this option is enabled, a customer who buys a product marked as Ad campaign can already submit his campaign and see the stats.
You will only be required to verify and publish the campaigns.
Legal disclaimer
QantumThemes is not responsible for any user submitted campaign that doesn’t respect national or international laws and regulations, illegal contents, spam or any other type of illegal link.
You are in duty or carefully checking the submitted ads (banners and links) before approving them.
How does a Partner create a campaign after the purchase?
After the purchase, if the order contains a product marked as Ad Campaign, the visitor will be automatically redirected to the submission form.
If the redirect doesn’t work for whatever reason, it’s easy to access the submission page from “My Account”.
- As customer, go to My Account
- Click Orders > View to open the single order page
- Click “Create new Campaign”
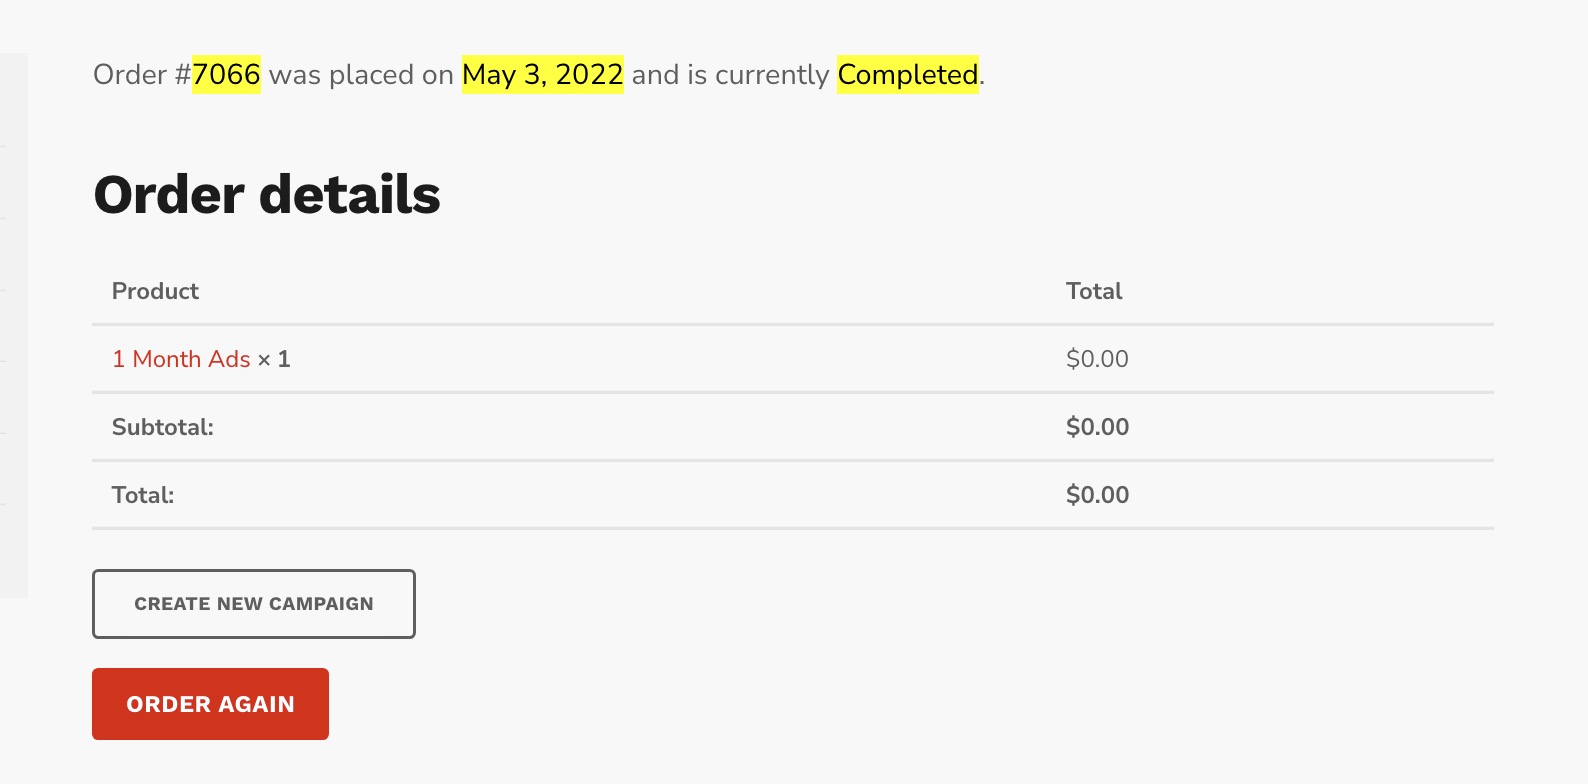
- It will automatically link the new Campaign to the Order, so the administrator can verify if the campaign dates are matching with the purchased service.
- Your Partner can now create the campaign, and wait for your approval. Once done it will appear in his Order details:
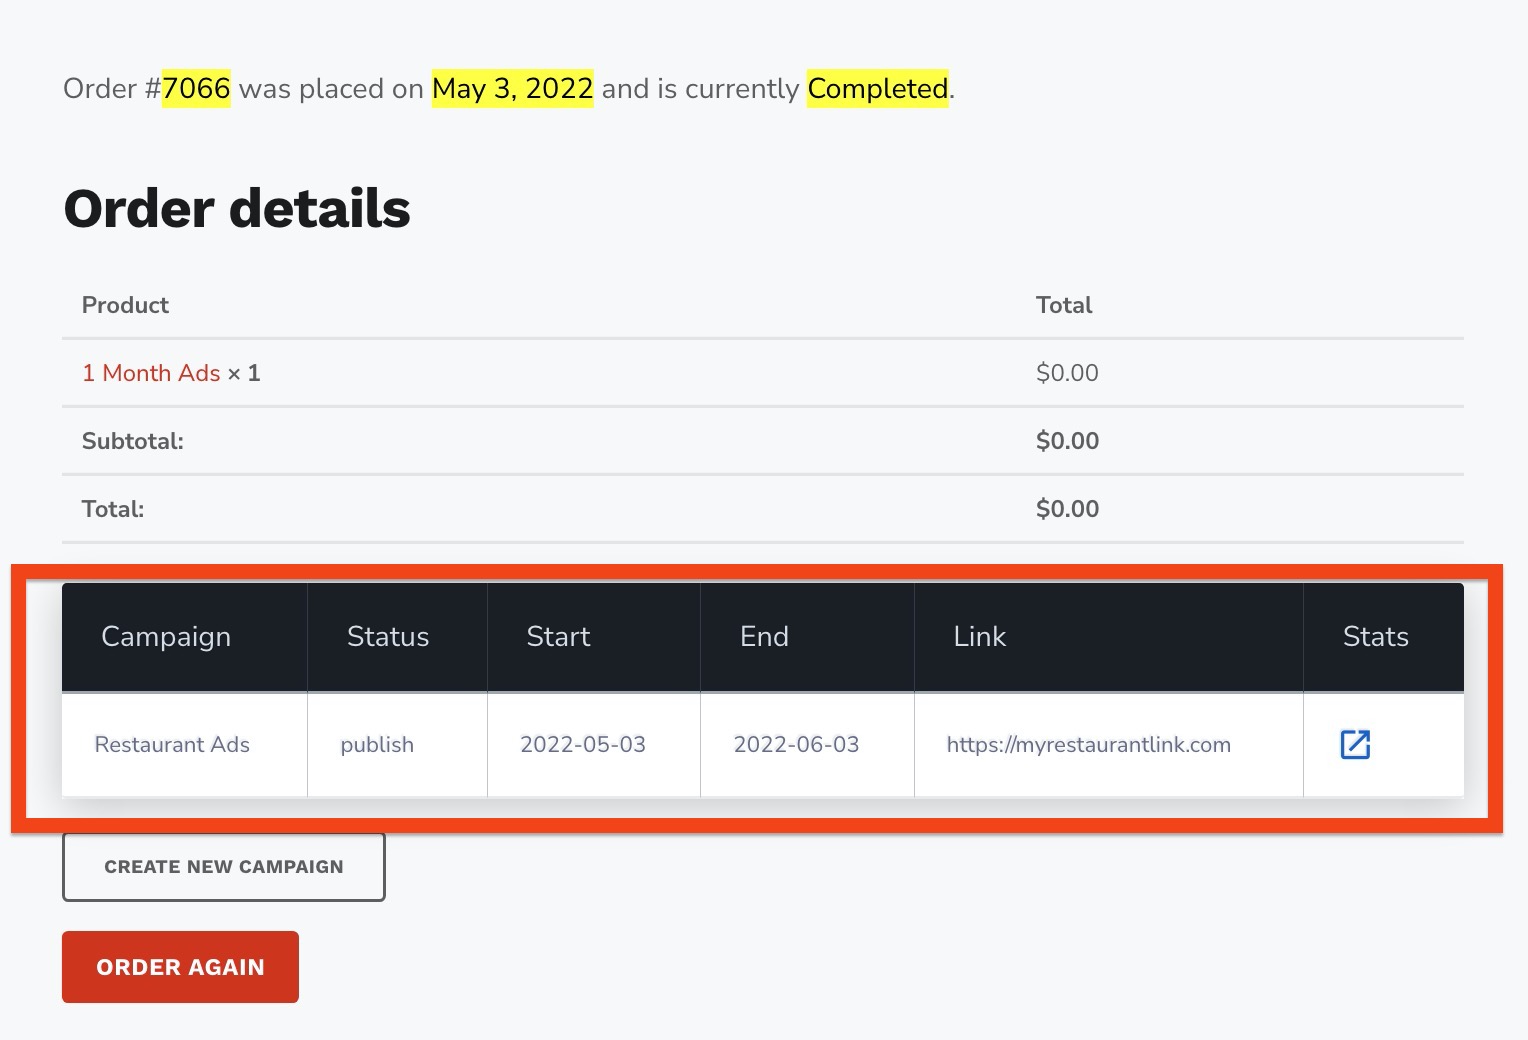
- Your Partner can view the stats from his account page
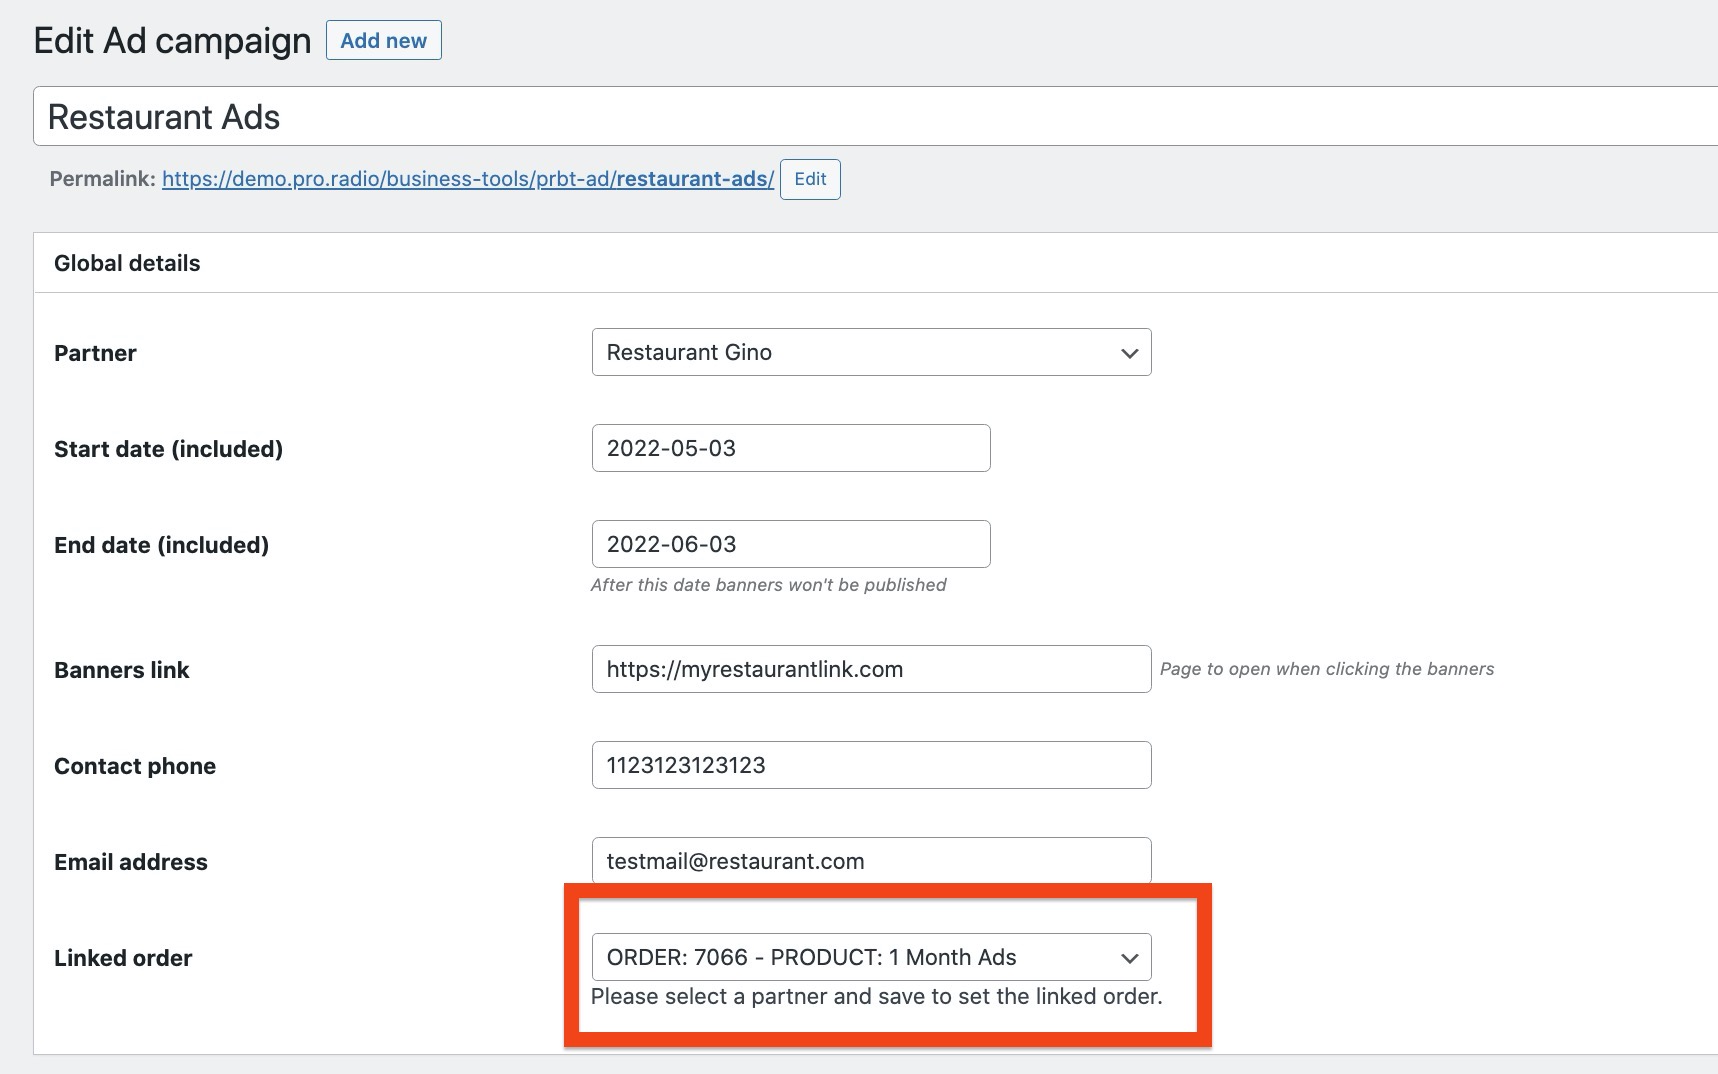
- As Admin, you can check the linked order in the Campaign settings or edit the campaign anytime
Important: if you delete a campaign, every banner linked to that campaign will be deleted forever.
Changes to the campaign fields cannot be reversed since are meta fields.
Uploaded banners are not accessible from the frontend and not indexed, but is recommended to delete any inappropriate content (and block the users).
Selling ads
Now that your product is ready, you can start advertising that you’re selling ads. For instance, you can use the Pricing plans widget included with the Pro Radio WordPress theme in order to suggest the products to your potential partners.
Recommendations
- Always check the submitted campaigns before publishing them. You’re responsible for the contents and links on your website, don’t allow shady/scammy ads, and promptly remove inappropriate contents and users.
- If you set up this system with WooCommerce, provide a timely response to your partners.
- Test everything as a user to make sure the procedure works.
- Make sure also that you’re receiving the order notification from WooCommerce and the and submission notifications from Business Tools. On some hosting providers, email notifications may be blocked, in this case set up the plugin Wp SMTP. In case check also your spam and trash bins.
- Install a plugin like WordFence and set up the firewall and basic security rules to ensure protection.
- Set up a hourly or daily backup on your server to restore a backup in case you delete or lose some important information or e-commerce detail.
- Remember that selling online is subject to each country regulation and taxation. This is all up to you, se tup WooCommerce properly and invoice the orders properly.
- Don’t grant Partner privileges to random subscribers
- Periodically review your campaigns, shop activity and submitted ads
- Beware scammers, make sure to publish a clear “terms of service” page on your website.
- It’s up to the administrator to check that the campaign duration is matching with the purchased service. The campaign duration can be modified only by the administrator.
Your Partners are not allowed to change campaign dates. Each campaign can be linked to an order for easier management. You can link multiple campaigns to the same WooCommerce order.
How can a customer edit his campaign?
He can’t, for several security reasons. For example, a malicious actor could replace the original campaign with illegal links or banners after it has been approved. To prevent this, partners or customers are required to submit a new campaign instead of editing an existing one. You can then suspend the old campaign and review the new submission.