This theme comes with an easy to use widget to display a Mailchimp newsletter subscription form on your Elementor pages, in style with the design of your website.
While we are aware of the many Newsletter providers on the market, our integration comes only with Mailchimp option because is the most popular, and this prevents adding too much code to our theme, to preserve a better performance for your website.
You don’t need a paid Mailchimp account.
STEP 1: Plugin
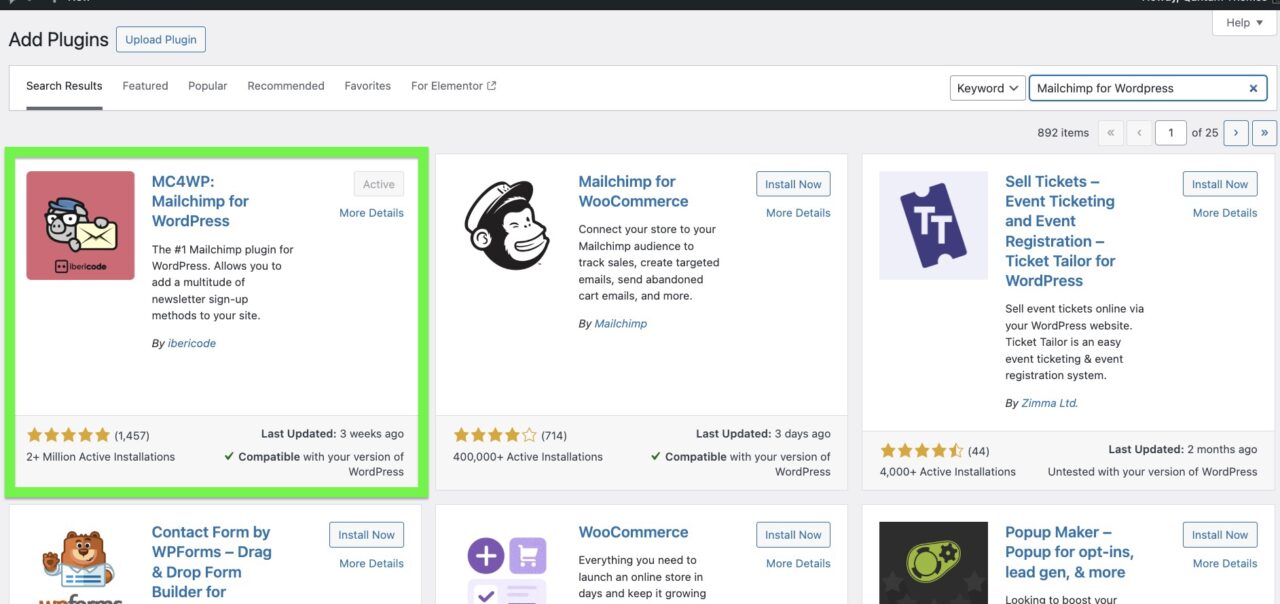
Go to Plugins and make sure the plugin “Mailchimp for WordPress” is installed.
If not, please go to Plugins > Add new, and install it.
STEP 2: Configure the plugin
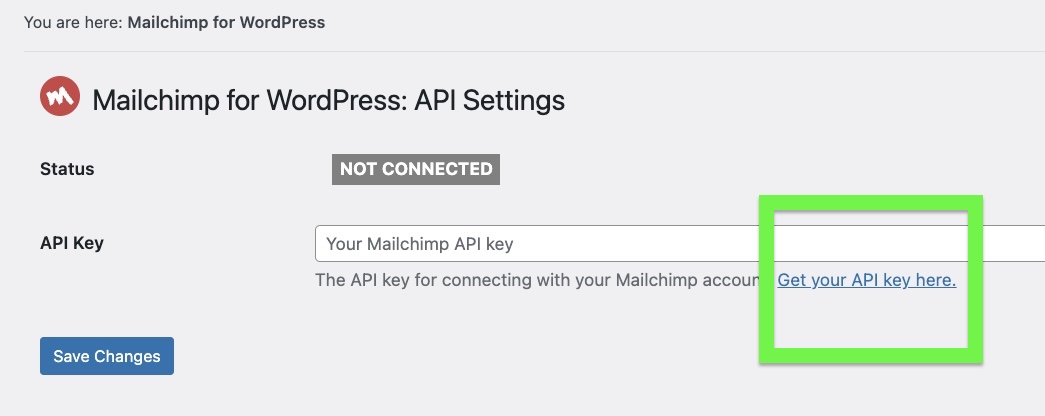
Follow the plugin instructions to link the plugin to your Mailchimp acocunt. Fromt he left menu, click MC4WP and enter your API Key
STEP 3: Make a cool form
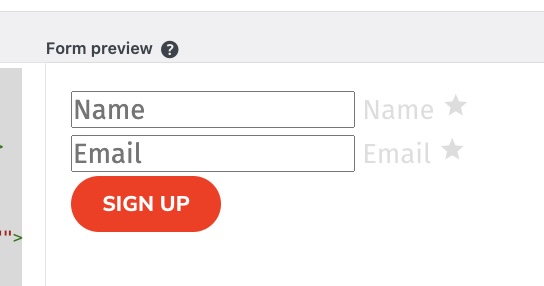
From the left menu click Form and make sure to format this form using the Typify css classes, as follows (match the input fields with your Mailchimp account settings)
<div class="typify-form--inline">

<div class="typify-fieldset">
<input id="email" placeholder="Name" name="NAME" type="text" required="required" value="">
<label for="name">Name <i class="material-icons">star</i></label>
</div>
<div class="typify-fieldset">
<input id="email" placeholder="Email" name="email" type="text" required="required" value="">
<label for="email">Email <i class="material-icons">star</i></label>
</div>
<input type="submit" class="typify-btn--l" value="Sign up" />

</div>
Don’t worry if the preview looks ugly
STEP 4: Add it to your page
Edit a page with Elementor, and select Mailchimp Form widget
That’s all, you’ve successfully added a newsletter subscription form to your page!