To display a contact form on your website with Elementor:
- Make sure the plugin Contact Form 7 is installed
- Create a form (Click Contacts on the left)
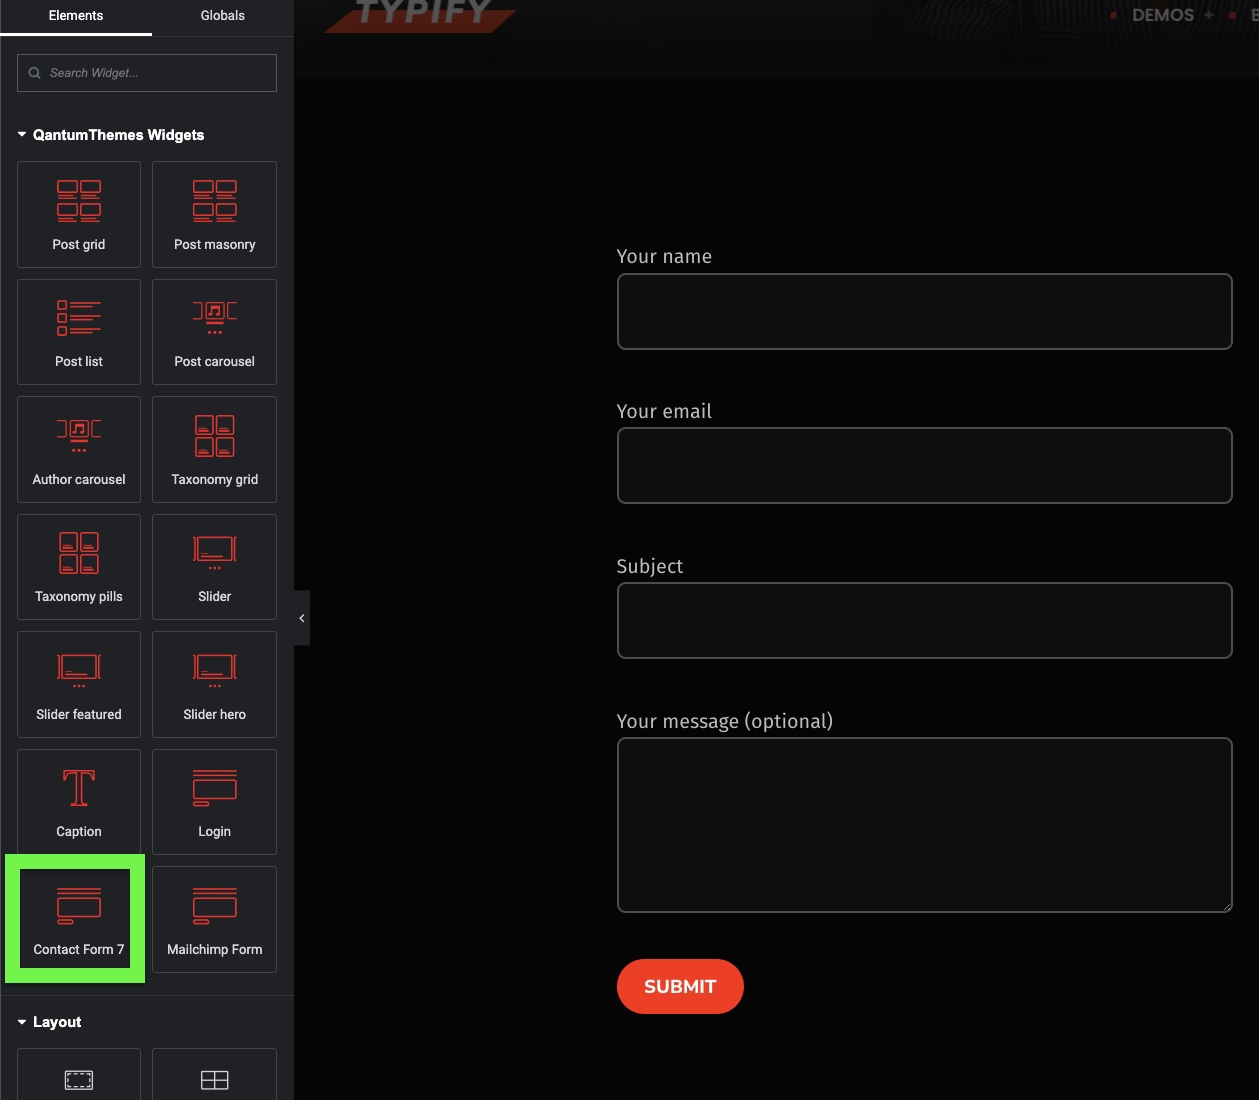
For the set up of your cotnact form please refer to the official documentation, since is not a plugin from our company: https://contactform7.com/docs/ - In Elementor, enter the Cotnact Form 7 widget. Optionally choose a different from in the widget options.
Troubleshooting email issues
If you don’t receive emails, remember that that’s most probably because you need to set an SMTP account for your website. To do so, we recommend the plugin Wp SMTP (which is free)
https://wordpress.org/plugins/wp-mail-smtp/
- Go to Plugins > add new
- Search and install WP Mail SMTP by WPForms
- Configure the SMTP options using your specific email details (ask your hosting if you need help on this)
Once done, emails from the form will be authenticated and you shouldn’t have problems. Make a test to ensure you can receive messages.
Very important information
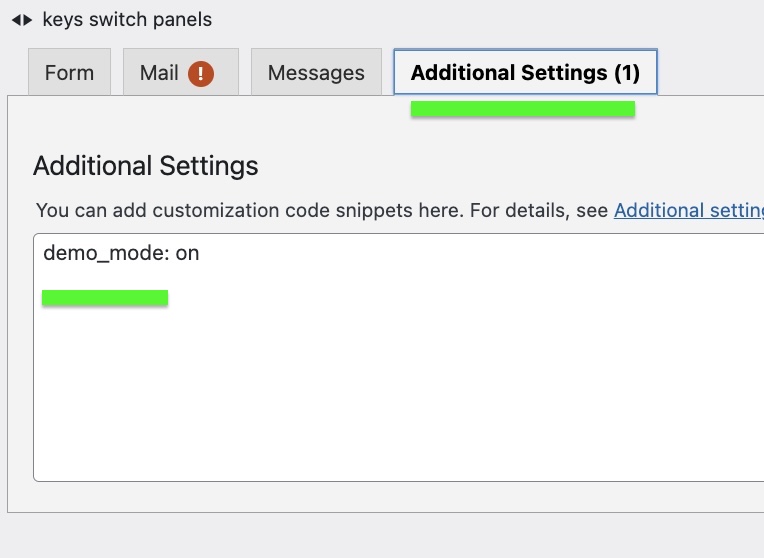
Our demo contact forms come with demo option enabled, so it cannot send emails for real.
You can work on your forms and once ready to go live, disable the Debug more.
To disable the demo mode, edit a form, click “Additional Settings” and remove “demo_mode:on”.
Form appearance and formatting
When importing the demo contents, please check thr HTML structure of the provided forms: it’s crafted specifically for this theme and allows to display the fields in the fancy theme styling.
Specific formatting: 3 requirements
- The input fields have to be wrapped in a div containing the class “pdws-fieldset”
- Fields MUST have a placeholder
- The label must follow the input field for the animation effect to work correctly
Full form example:
<div class="typify-fieldset">
[email* m-name placeholder "Your name here" ]
<label for="m-name">Name </label>
</div>

<div class="typify-fieldset">
[email* m-add placeholder "Your name here" ]
<label for="m-add">Email </label>
</div>

<div class="typify-fieldset">
<textarea id="your-message" placeholder="Message" name="your-message" required="required"></textarea>
<label for="your-message">Message</label>
</div>

[submit class:typify-btn--l class:typify-btn--full "Subscribe"]
Mail settings:
Make sure the input fields names are matching with your Mail message fields.
Preventing spam
Is recommended to install Recaptcha to prevent spam