The first part of this procedure is the same for every streaming provider. After this first setup, there is a specific part dedicated to displaying the song titles, which is different depending on your streaming service.
VERY IMPORTANT INFORMATION
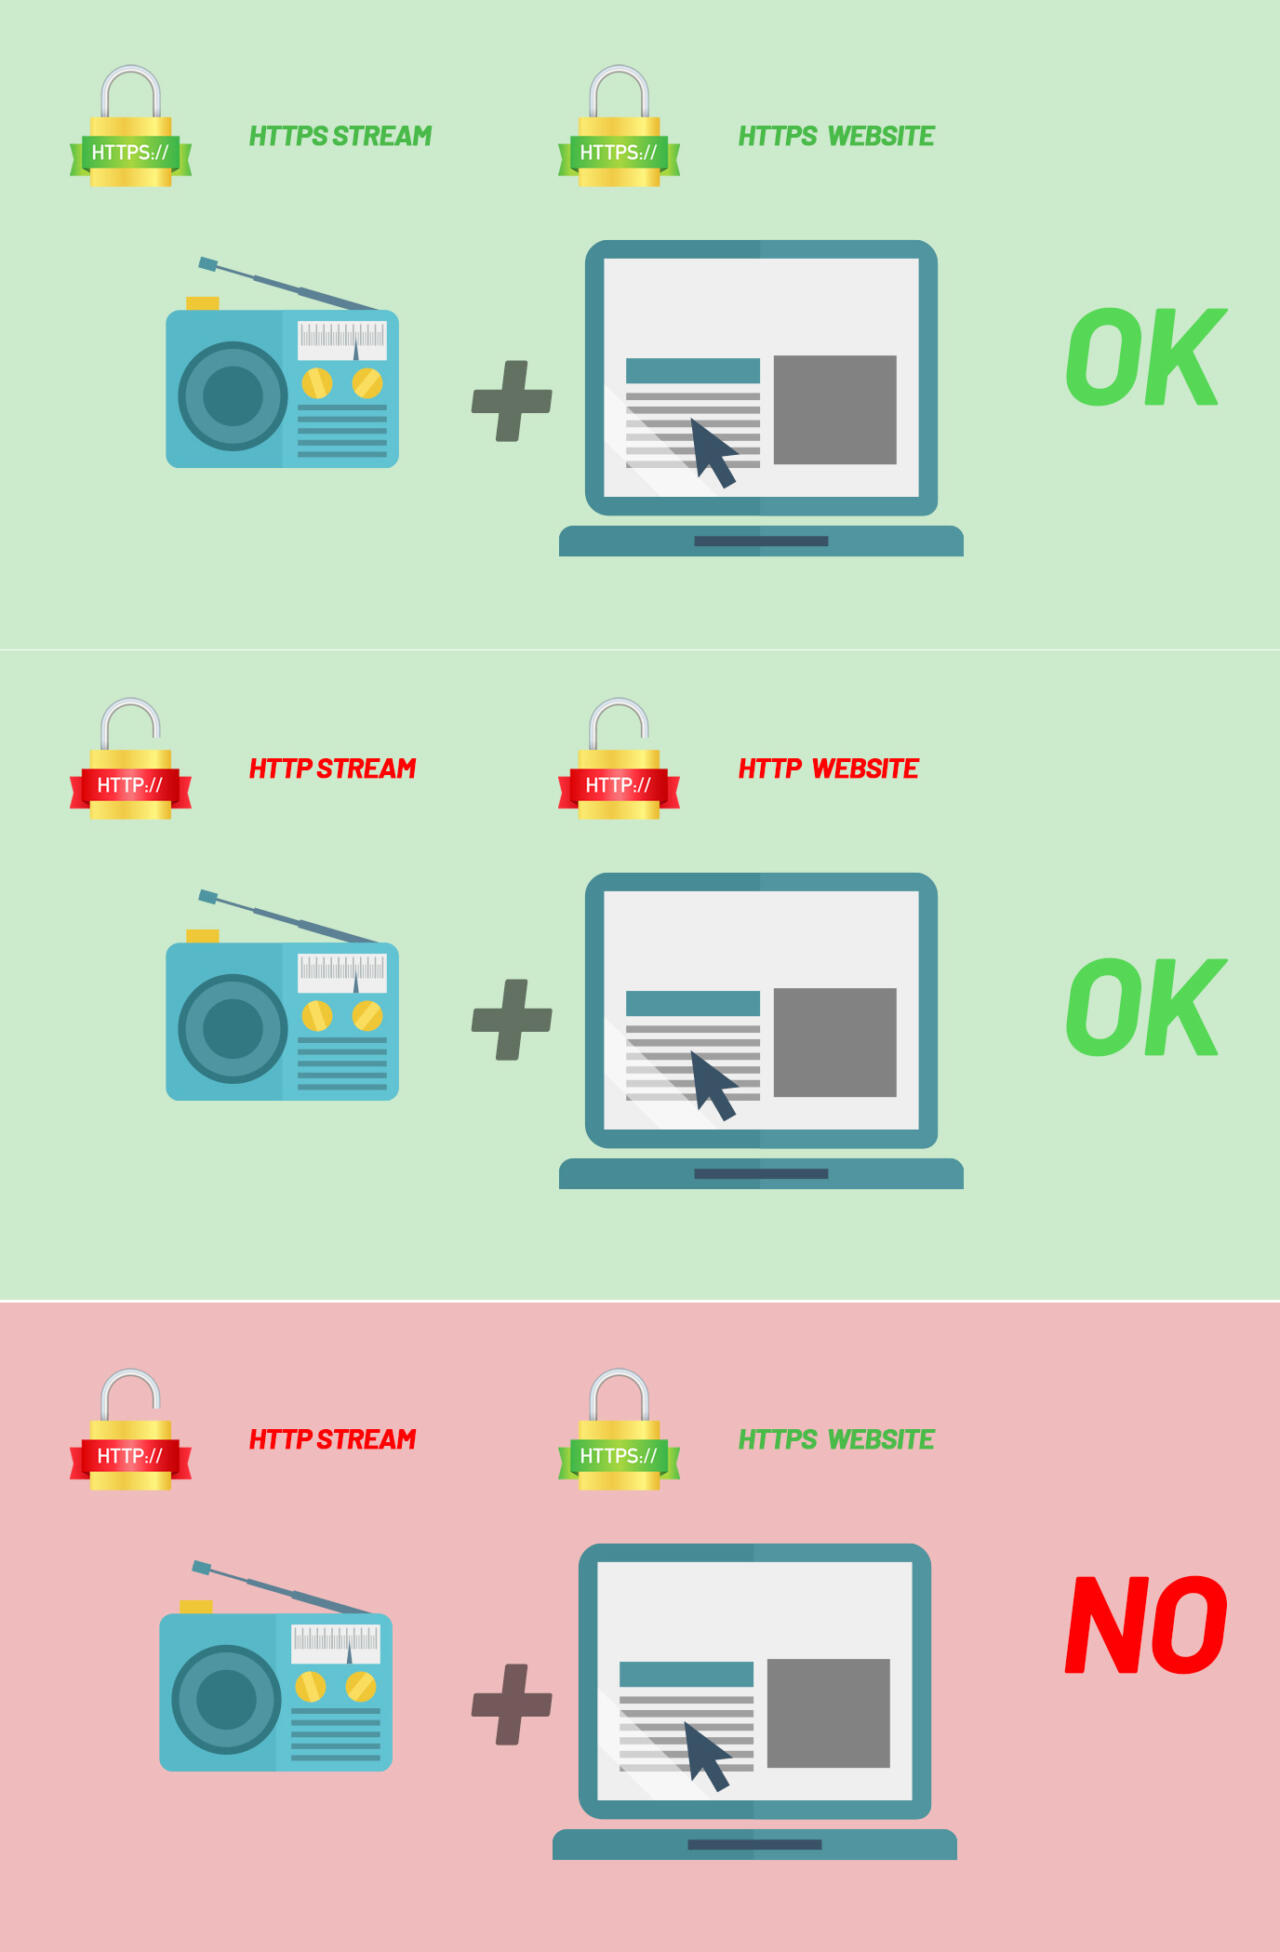
It’s impossible to play an “HTTP” stream through an “HTTPS” website. If your website uses HTTPS, also your streaming url needs to be in HTTPS. This is not a theme limitation, is a new security measure now adopted by any modern browser and device.
How to create a radio channel
Step 1: Find out your radio streaming URL. If you don’t know it yet, please check the page dedicated to your specific streaming type for more info
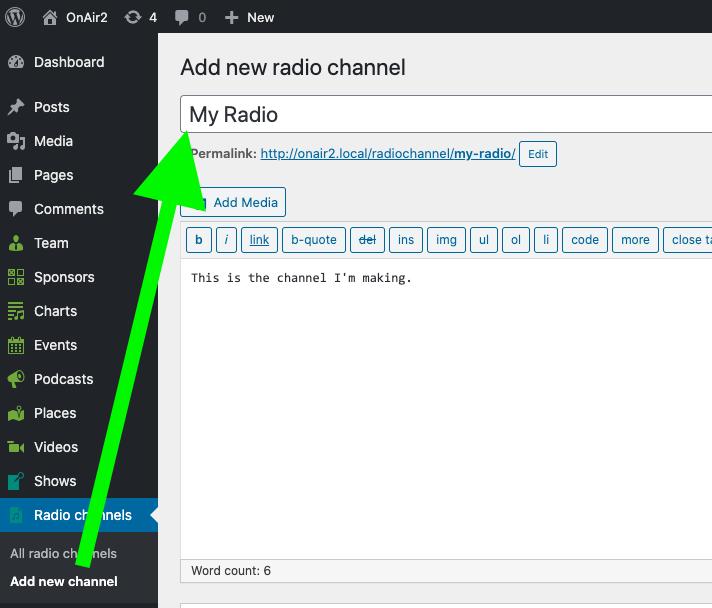
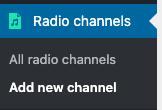
Step 2: in your WordPress Admin, go to Radio Channels > Add new channel
Step 3: enter the name of the radio channel
Optionally, add a content description for the radio channel, that will be visible when opening the single page of the radio channel.
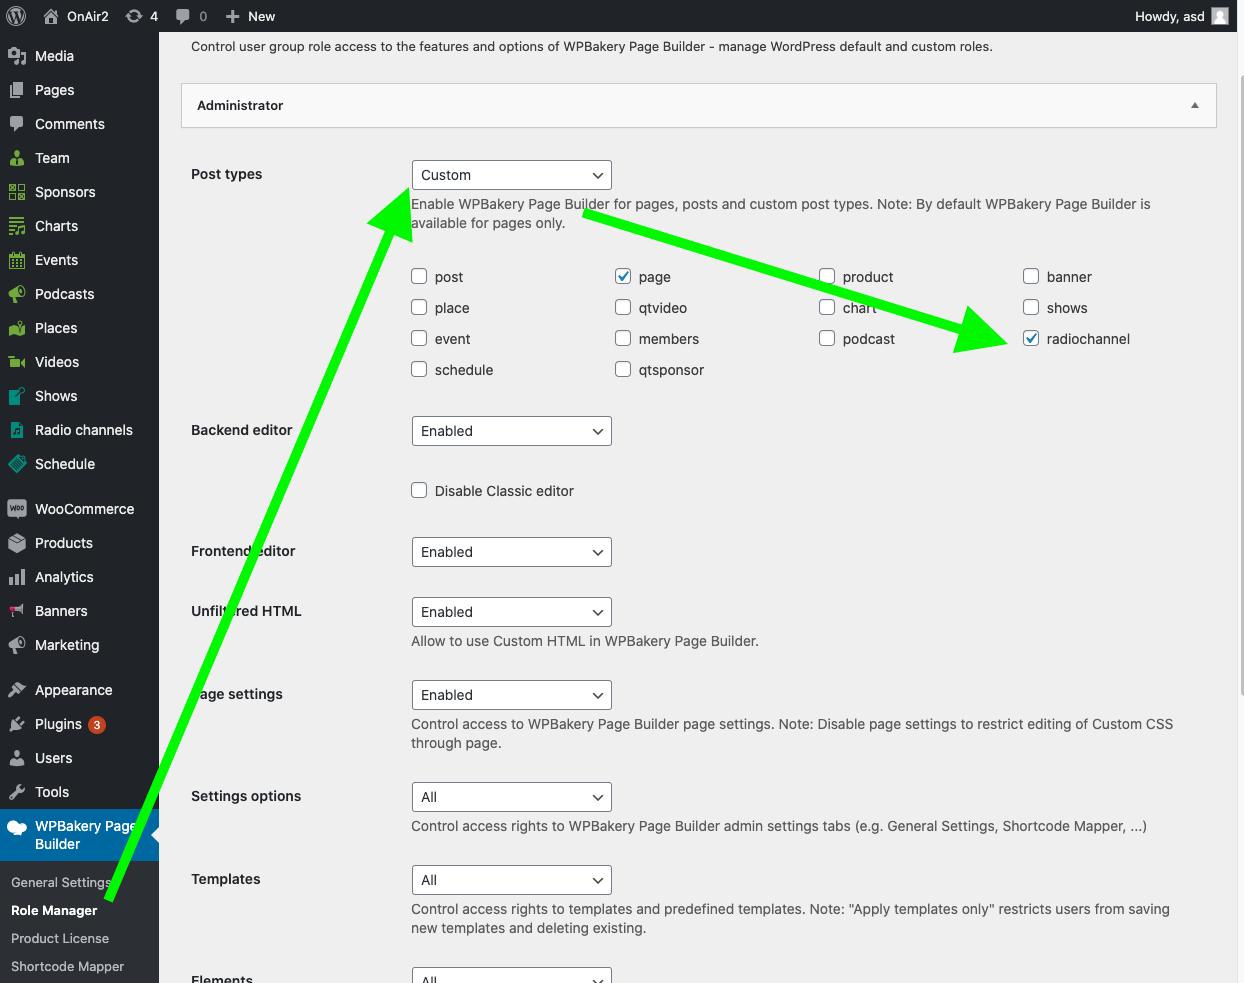
If you want to edit this page using WPBakery, you need to enable the post type “Radio channels” in the WPBakery settings
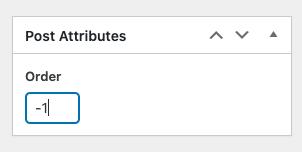
Step 4: optionally add the Order attribute. This parameter will modify the order in the Playlist within the radio channels of your playlist.
If you want one particular channel to always be first, you can set the order to -9999 or similar (negative numbers are supported).
Radio channel details: required to display the song title and play audio.
Step 1: Gather information about your streaming server type. This is an information you should already know. If you don’t, please ask to your streaming provider.
Step 2: MP3/AAC Stream URL: the URL of your stream (see dedicated sections for each provider for more info).
If your website is in HTTPS, your streaming URL needs to be in HTTPS as well.
This is an example of a working URL (the example is for the radio.co provider)
https://streams.radio.co/sd1bcd1376/listen
To make sure it’s correct, open the URL in Chrome: you need to see a player. Sometimes, a download action can be triggered, in this case you’ll notice the download never ends, because is a stream.
Step 3: Radio subtitle. Will be used instead of the Artist name, if missing.
Step 4: Radio images.
Radio background: used as player background. Each channel can have its own image as background.

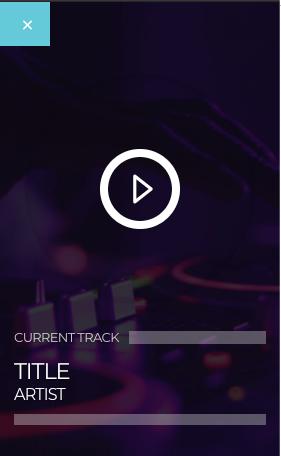
Logo: Mostly used in tiny format. Suggested size 400×400. Used in the channels list of the player and in some radio widgets. You can also use transparent PNG.
Header logo: replace the channel title in the single page of the radio
Now, your radio will appear and play the audio stream.
To display the current song title, please read the next chapters, making sure to use ONLY the specific settings for your radio server (if you add the settings of multiple server types at once, the wrong one may be used).
Server-specific instructions
In the next chapters you will find the exact instructions to display the song title and artist name on the player and other parts of the website, for any supported type of streaming provider.

