Schedules are lists of shows (or events) with a timing connotation.
How to create a new schedule:
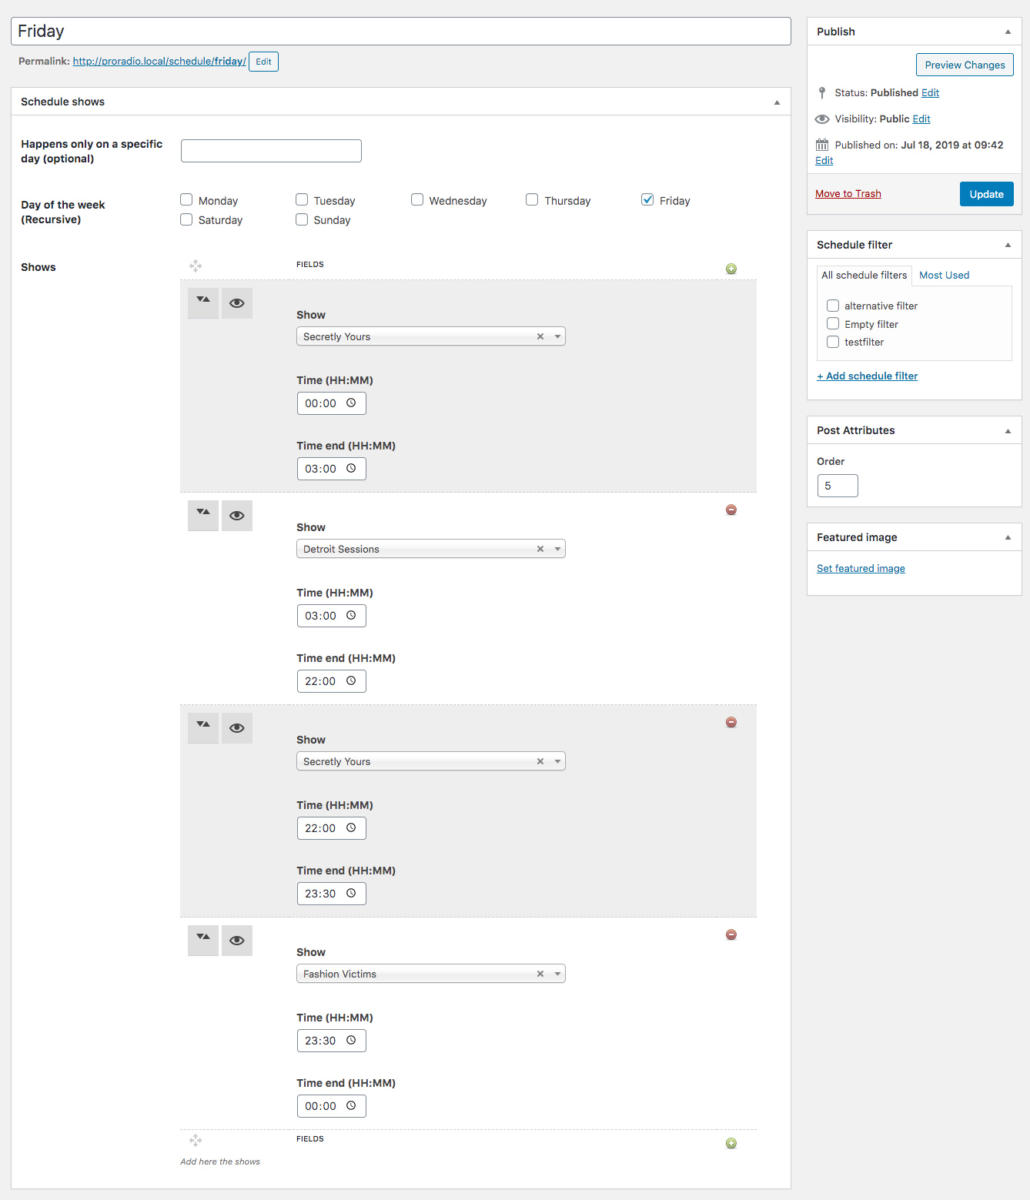
- In your WordPress Admin, go to Schedule > Add New
- Fill in the title. It can be whatever, it is not used dinamically to extract the day value. It is just text.
- Optionally pick a single calendar date. This is useful in case you have a different timetable for every day of the month and you want to prepare in advance a schedule for each day.
- Optionally pick a day of the week, useful for recursive schedules that are the same every week.
- Please note: without picking a single day or a week day, the automatic widgets like “show on air” or upcoming shows” will never be able to pick the actual day and find which show is going on.
- The order of the schedules is based on the “page order” attribute, on the right of the page editor.

- If you don’t see the page order attribute, open the “Screen Options” menu at the top right hand corner of the page, and enable “Page Attributes”. You have to set it as
- Sunday: order 0
- Monday: order 1
- Tuesday: order 2
- Wednesday: order 3
- And so on…
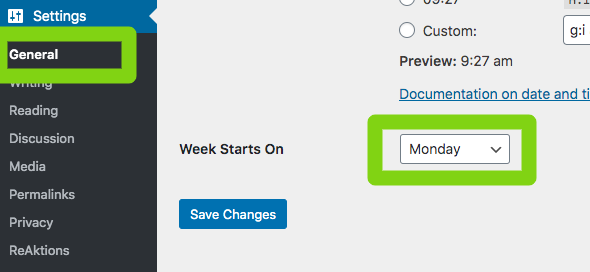
- Make sure to set as day 0 the same you set as first day of the week in your general WordPress settings (you can see it in Settings > General)In this example, Monday is set as the first day of the week, so your first schedule day with order attribute 0 should be Monday.

- Add the shows: by clicking the green “plus” button you can add new shows. You can add unlimited shows for each schedule. Every show can start and stop at whatever hour you like.
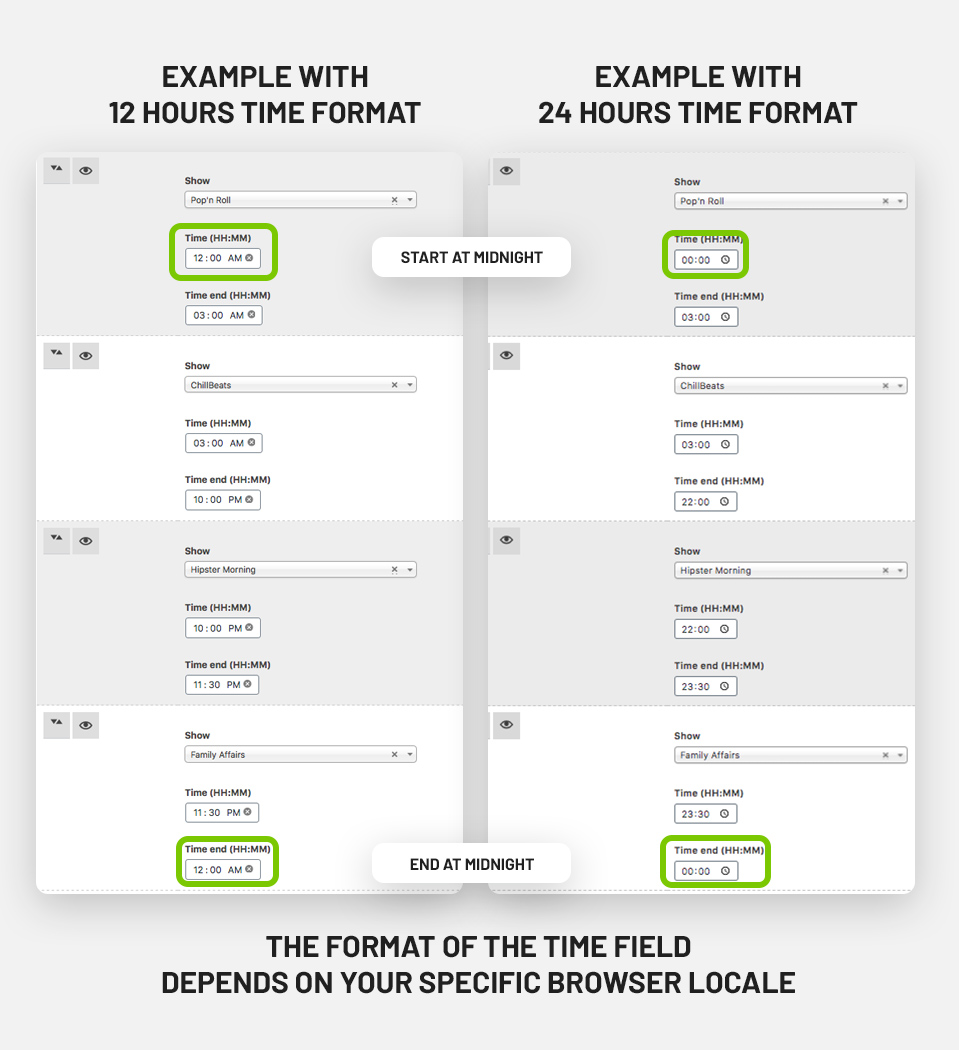
- The time of the shows has to be subsequential: if the first show is from 00:00 till 01:20, the second has to start at 01:20, without empty gaps. The shows should cover the entire 24 hours of a day.
- Make sure the time settings of the shows are not overlapping: for example, you should not have the end time of a show set to a later time than the beginning of another show
- Remember to SAVE
Example of a correct schedule setup
Important things to know:
- A schedule is basically a list of events (shows)
- A schedule can represent independently a day, a part of a day a recursive day of the week, or a specific date
- A single schedule can be used to gather a series of events of non consecutive days, for example in the case that your radio station has the same shows on Monday and Wednesday. The software will recognize that the show on air and is able to parse a schedule that has been connected to multiple days (or a whole week)
- If there is a schedule connected with a day of the week and another schedule connected with a specific day (like 25 December 2015 which is Thursday) the specific schedule will be chosen by the software to display the show which is “on air” instead of the schedule of the recursive day of the week, which has lower priority.
- If you need to duplicate a schedule, you can use a plugin such as “Clone Post” from the free repository of WordPress. All the shows will be copied with it, and it is easier to create a whole calendar for your station.
Displaying the schedules:
Generally, you may want to create a weekly schedule grid (explanation further on) but if you need to link to a specific schedule, for example from the main menu, you can enable the schedule contents in Appearance -> Editor.
Just click on the “Screen Options” in the top right corner of the screen and check “Schedule” or “Show” to enable linking to specific schedule.
A single schedule page will appear in this way:

Adding a full Show Schedule Calendar to a page:
This is the schedule timetable:

There are 2 ways to incorporate a schedule timetable into any page:
- Adding the shortcode [qt-schedule]
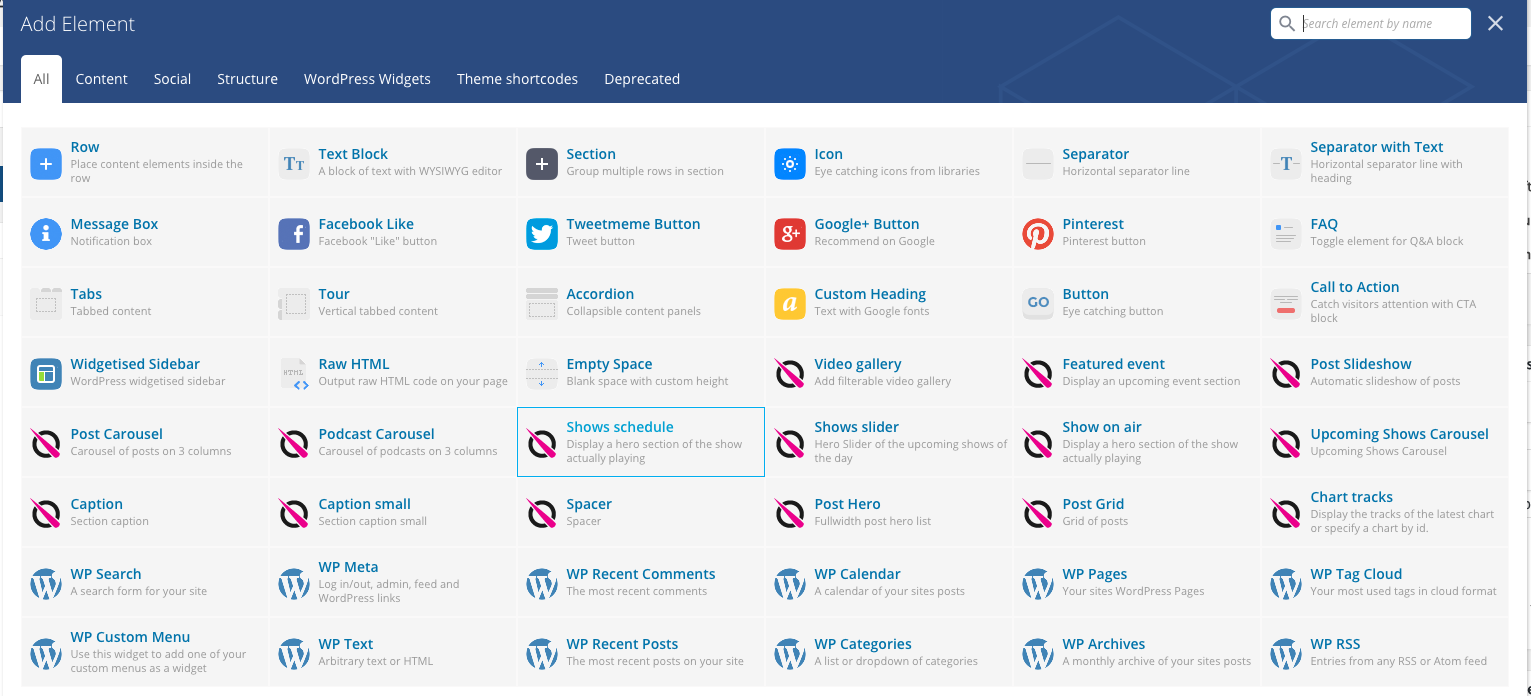
- Using visual composer, using the Schedule element:

The schedule grid will automatically detect the current day and open it directly on the page open.


